


 I had to make a child's floor length coat that was similar to the men's coats that I showed earlier. One difference was that the child's coat zipped up to the neck and thus required a differently shaped collar.
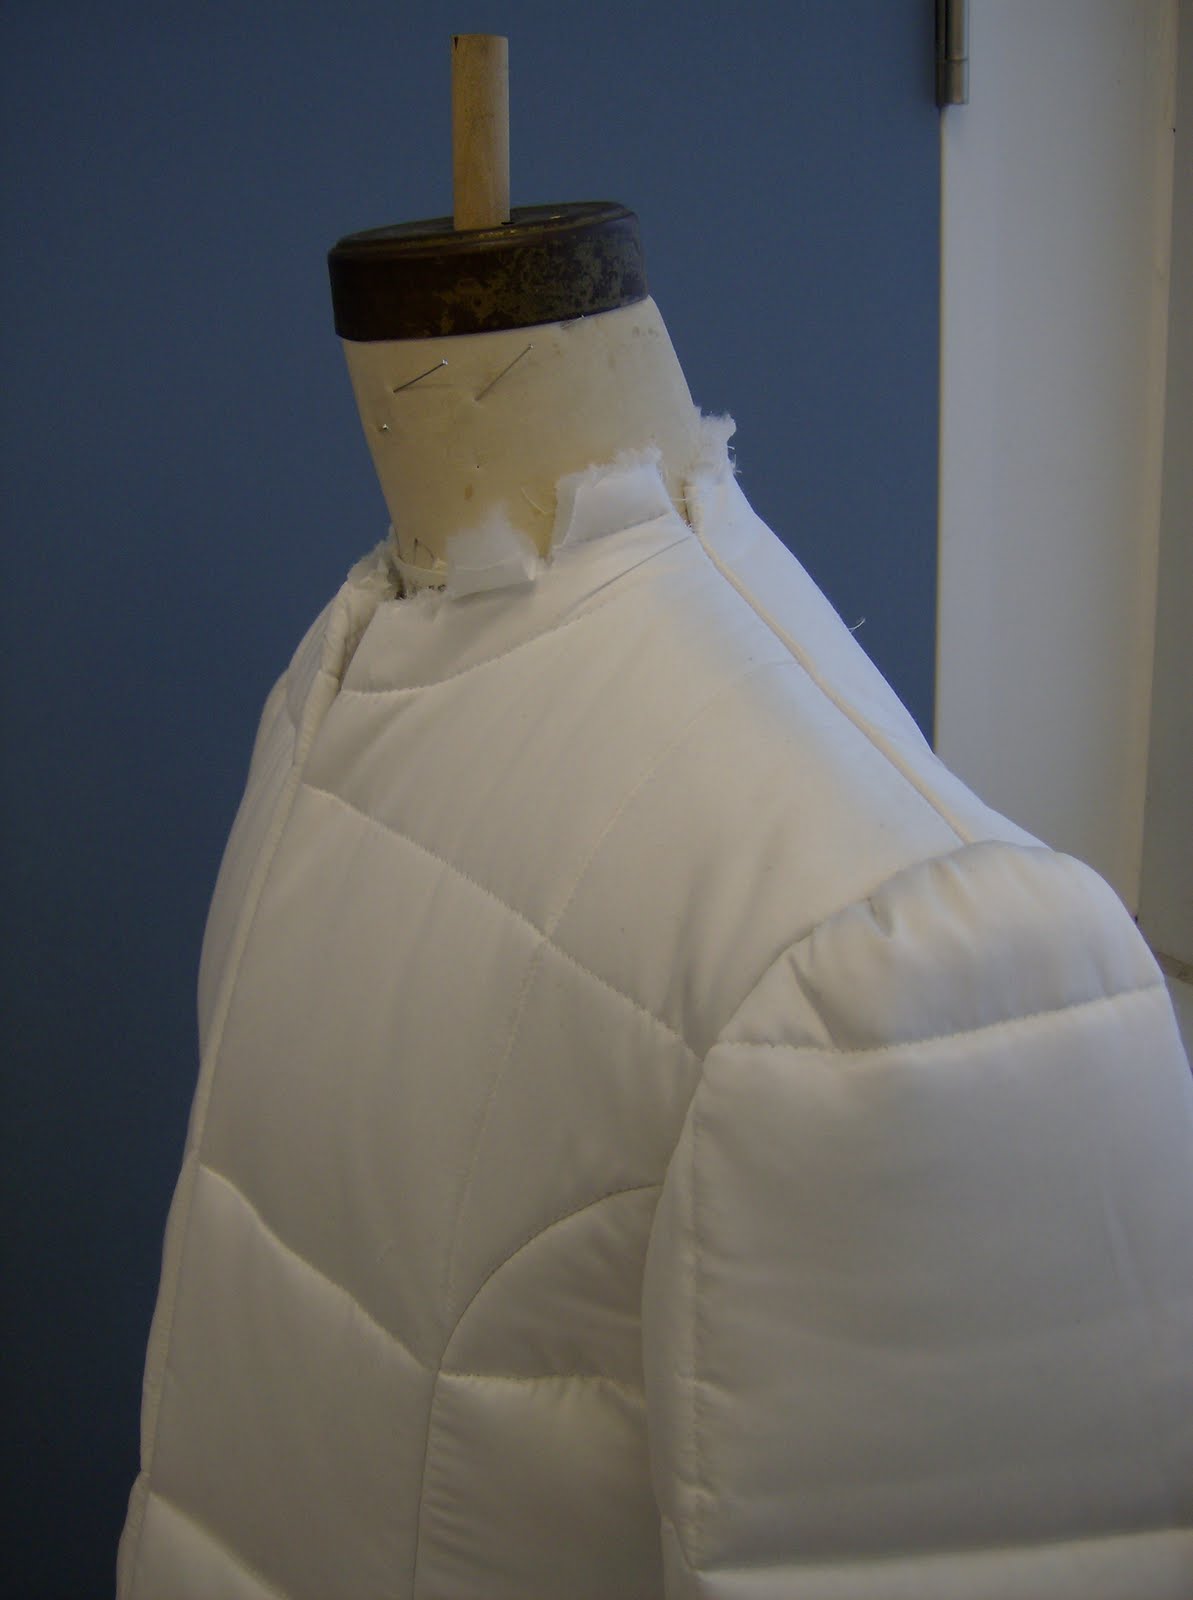
I started here with the coat on the stand with the neckline machine stitched to compress the batting.
I could have drafted a collar but I often find when I get to this stage, it is just as easy and quick for me to cut a rough shape out in the fabric by eye (I have been at this a while and I kind of knew what the collar shape should be) and drape a collar.
One advantage is that I can see right way what this fabric is doing rather than make a paper draft and try it twice.
 Here's my rough shape cut on the bias. Just half the collar to drape with. I have to make sure that the CB does not pull out of alignment when I pin the collar shape on.


No comments:
Post a Comment