Sunday, July 25, 2010

another coat, more trim


Another few pictures of one of our coats in progress. It is actually finished, but I lost the pictures somehow. Nevermind, I'll try to get some more later this week.

This is a "nice to work with velvet"- or velveteen.
That makes me wonder if all cotton velvet is called velveteen ? I'll have to look that one up.

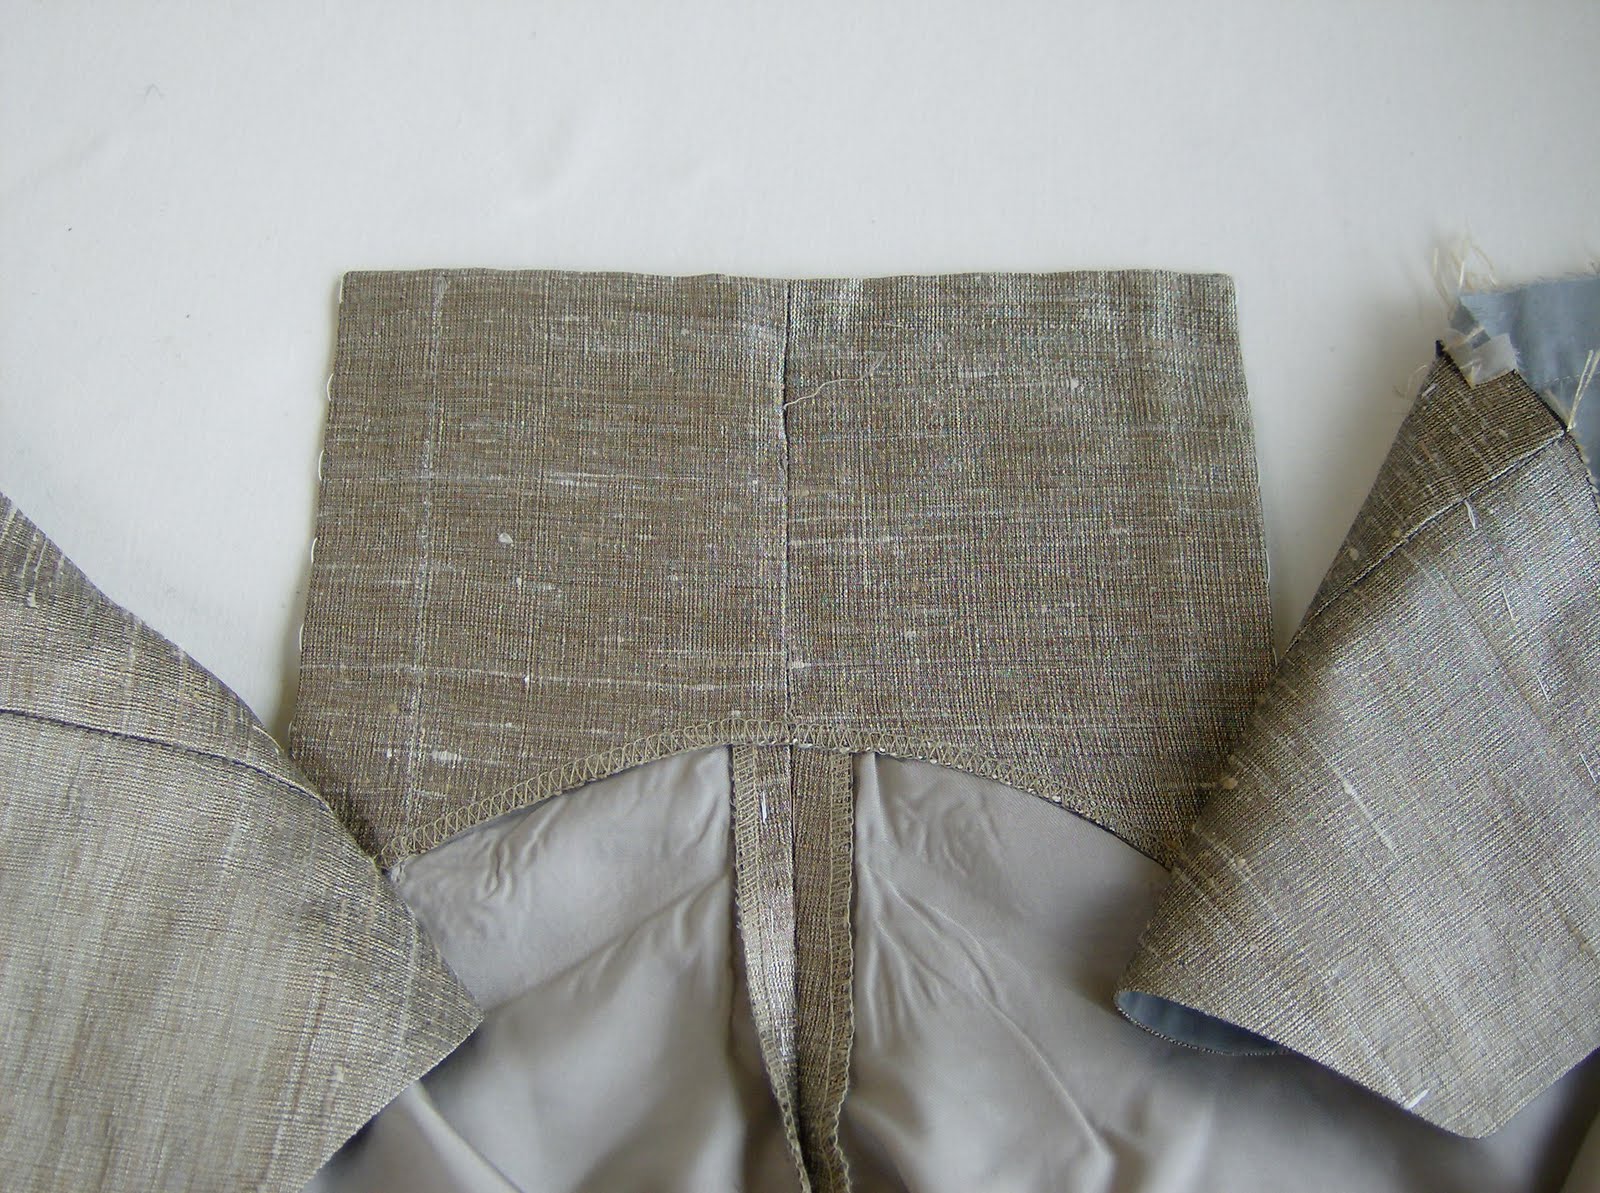
This is cotton with a black cut pile on a white warp and weft. It has a soft stable hand, light, but not too drapey or shifty. The pile is quite short so it doesn't move around too much when it is sewn, but it does require more careful handing than a flat woven fabric. Some people adore working with velvet or rather they fear it less than other people do. They know who they are, and I am thankful for them- it has never been a favourite of mine although I love the richness of it . I'm happy to cut it but that's where it stops with me.

Applying trim to velvet can be a tricky situation because the pile of the fabric fights you.
(Susy can testify to that- and we don't like to talk about the black silk velvet casaque with rows of thick soutache that once almost brought her to tears)

With careful hand basting first, both Susy and Silvia have been able to apply most of the trims by machine. The trim must be basted on over a ham or the tailor's egg that we use. There must be enough ease in the trim to not distort the shape of the coat when the trim is sewn on. Even the pocket flaps are prepared like this because if you didn't, the flaps would end up with the opposite curve to the body of the coat, and be sticking out and curling up around the edges.
The basting must be very secure because when you go to the machine to stitch it, you are laying it flat on the bed of the machine, and the ease you put in the trim will buckle slightly as it goes under the presser foot. In some cases it will look as though there is too much trim but don't be fooled, you will need all the ease you allowed.


Thursday, July 22, 2010

coat in progress


One coat finished and three to go. Here are a few pictures of the coat in progress. The first baste up, the trim decisions and then the finished coat and a close up detail of the trim. This way it looks like you can snap your fingers and here's a coat, but there are days and days of careful work going on from one stage to the next.
More to come as we head for the deadline.

Tech dress is the big deadline on Tuesday but Saturday afternoon is the rack check -off deadline which I should explain.
Every costume in the show gets a detailed "dresser sheet" which describes everything the actor wears, from underwear to hats, and very importantly, when it is worn during the play.
These sheets are kept up to date during the fitting process by the wardrobe office rep, so if something changes, it is recorded. As the deadlines approach, eight foot long rolling racks are stationed in the hallways and sectioned off alphabetically by actor. We place the finished garments on the racks, the footwear, hats, and personal show boxes are situated below. These personal boxes contain underwear, socks, jewellery, gloves, glasses, kneepads and the like.

On rack check-off day a crew of one or two dressers come in and using the detailed dresser sheets, go through the process of checking off each and every item listed for each and every actor before the racks are transported upstairs to the stage level.
Anything that isn't on the racks that should be is then listed and then checked with wardrobe management who checks with the cutter, so everything is accounted for and if you still need to work on a costume, you can.
Costumes that don't make it to the rack go on a special late rack, and are checked in separately until the whole show is loaded into the dressing rooms for the tech dress.

Once the costumes are up there, they are out of our hands and the dressing crew takes over. Tech dress is then the big day for all of us.
At the tech dress, the dressers get people into and out of costume according to a very detailed computerized show time line that tracks each actor's entrances and exits and costume changes, making notes about functional issues that come up.
We watch from the house at tech dress- it is the first time we get to see our work onstage with all the design components of light and sound- giving us a chance to correct anything that we or the designer think needs changing.

Monday, July 12, 2010

split fall front breeches

Along with the eighteenth century coats we are making, there are waistcoats and breeches to be made as well.
These breeches, like most of their era are styled with fall fronts. This means that instead of a centre front opening or "fly front", these have a "flap/fall" front as seen here.

Fall fronts come in a couple of configurations- whole/broad falls in which the flap is the complete front of the trouser, from side seam to side seam, and split falls in which the "fall" is a portion of the front of the trouser.

As I am writing this, it makes me wonder what the origins of "fly front" are. I mean, fall fronts are pretty self explanatory really- if unbuttoned, the flap will fall down- that's my own reasoning- nothing scientific.
Historically speaking, both centered and fall fronts appear and disappear throughout fashion history for various reasons- one the most popular reasons in this era for fall fronts was supposed Victorian prudery. A fly front was too obvious. I don't know if I really believe that, but it was the fashion of the day and continues to be the fashion for official "court dress" when one is required to wear breeches.

This is another view of the inside of the fall on the breeches I am working on.
The basic technique is to sew the centre fronts up and then make cuts/slashes into the fronts to create the flap. The slash can be made into a dart or into a rectangular area and have a flap that is either "clean fronted" or with a placket - which is how these were done. I think the dart technique is quite unstable so I rarely use that method.
The flap needs to be faced to the inside to finish the top edge. These were made by using a single piece of fabric to create the placket, finish or "bag-out" the top edge and become the inside facing. I think it is important to minimize bulk when making these and to also keep the opening from tearing out with repeated wear.
While constructing the flap, you also need to make an underlap so that you have something to sew the waistband to and for the breeches to be closed properly. I like to cut the underlap pieces so the top placket is stitched through the layers of the underlap.

I have not sewn the waistband on yet in these photos, but the waistband is sewn to top edge of the underlap, across the remaining front that is not part of the flap and continues along the waistline to the centre back.

The breeches are put on, the underlap is buttoned first and then the flap is brought up and buttoned to the waistband.
I like to leave a section of the centre front seam undone to create a buttonhole in the flap rather than making a machine or hand sewn buttonhole through all of the layers.


It is a technique that is really quite easy to master although it can be a bit difficult to wrap your head around at first- it is really like a men's shirt sleeve placket in many ways. You can see the finished placket above and the "buttonhole" in the flap below.


Thursday, July 8, 2010

trouser interior view 1

As requested, a shot of the inside of the fully lined trousers showing the waist the side pocket and inside of the fly extension.

Apologies for the quality of the photo- my camera was on the last of it's battery power yesterday, and this was the only shot I got.

We use a few different finishing techniques than you would find in "Ready To Wear" or "Off the Rack" clothing. The main one is that our waistbands do not have a "curtain" of lining- they are made of a double layer of hair canvas or linen canvas that is stitched together and then covered with silesia. The waistline is stitched securely through all the layers and we have a simple turn back at the centre back. This allows for quick and easy alterations since they are likely to be used again for another actor in another season.

The pockets are standard side seam pockets- the modern technique is readily available in Roberto Cabrerra's book Classic Tailoring Techniques .
The method I use is very similar but probably a slightly older technique but it gives the same results.
I can't count how many pairs of trousers I have made- but once you get a method in your head and hands it is sometimes more efficient to keep with it rather than change it for change's sake.

This pair has a zip fly - something that we never used when I was starting out. It was all button flys all the time. Now, I can't remember when I last made a pair with a button fly.

I'll try to organize a few more detailed shots, when things slow down a bit.

Saturday, July 3, 2010

finishing trouser lining

Well, this took forever didn't it! We were ready to fit these, then we had a week layoff and then we waited a week to get a fitting and then we needed to get those 18th century coats ready before this could be worked on. Phew!

Ok, so once you have a final trouser length, you hem the trousers as you normally would, moving the lining out of the way. The lining then is clipped just barely as far as the seam allowance and brought back over the seam allowance as well as over the hem allowance.
It is slipped either on the edge of the lining, or you can slip stitch it as you would a jacket lining, leaving the lining a bit of give.

I like this technique because the hem looks better. If you serge the lining in right down into the hem allowance, you end up hemming the trousers through the lining, or just to the lining, which isn't as clean looking in my opinion.