Thursday, December 17, 2015

Cutaway variation

Another body coat that I cut in Montreal.
This is a variation on a cutaway that I cut and sewed while in Montreal.


The student designer chose to have a modern twist on an 1870's inspired cutaway coat with inspiration from jeans jacket and motorcycle jacket styling. One of her first ideas was to have an asymmetrical zipper opening as in the motorcycle jacket, but keep the body shaping of a traditional tailcoat. I don't know why she ditched that idea, as I think it could have been quite fun, but in the end she came back to me with the DB 1870's inspiration and the leather yoke.
The back seaming was modified from the traditional so the seams run vertically into the yoke like a jean jacket in a way.
The corduroy for the jacket was luckily (for budget reasons) found in stock and she dyed it this colour. The leather (also found in stock) was a perfect pairing.

She wanted the collar to have quite a tall stand, and a few different inspirations, one of which was a type of modern convertible collar and the other more of an 1830's style. We ended up with more of the 1830's in feel.
I think it is difficult for students and new designers who don't really know how things are constructed to parse out what they really want. They see many pictures but don't quite "get" how particular details work or don't work or whether they can be incorporated successfully.
It is also difficult for me to describe the options of the variations and how they work without making the poor student's eyes glaze over because they really don't understand half of how things work.

In a situation where you are building a show in less than a month, there isn't a lot of time for experimentation either.


Over the month, for the men's wear, I cut and we built the cream frock coat and large described earlier, this cutaway coat, a suit jacket styled vest, a wrap skirt for a man, an asymmetrical tunic in waffle cotton with a period stand collar and strap and buckle closures. There was also a cape that incorporated a pair of exaggerated 4 inch deep pointy shoulder pads with a tulip collar trimmed in feathers, a pair of 1820's style pleated trousers, a pair of drop crotch riding breeches, a pair of ethnic inspired drop crotch trousers, plus alterations to an 18th century coat, a military jacket, and a few other bits and pieces.

We were very busy indeed!


Wednesday, December 16, 2015

Period dress costume video

I just thought I would share this video made last year documenting the process of a period dress from drawing to finished dress.
The dress was cut by my friend and talented colleague Carol M, and sewn by a whole team of talented people.
Hope you enjoy it!


Friday, December 11, 2015

Montreal and more formal wear

Oh, It has been quite a while between posts!
I have just returned from Montreal where the formal wear trend continued.
It must be in the air, or maybe the water, who knows?

First a lovely early morning view from my window. I admit to having a bit of culture shock coming home- where have all the buildings and the people gone now that I am home?


One of the costumes I made happened to cut was this frock coat in a lovely brocade.
It was a good learning experience I think, for the design student. She bought 4 metres of fabric, all that was available in fact, and then we worked it out. I did make a mock up, because I knew there would be no room for error or major changes.

It does not fit the stand quite like it fit the actor, I assure you! He has a much more erect posture hence the extra length showing in the front. The single low button doesn't give a lot of support either. He also wears a Farthingale over it as the Queen, which does complicate things a bit!


The big "collar" is used when the actor appears as "the Queen" and is removable.
It has an inner harness of sorts that stabilizes it on the body, then it snaps into the frock coat to make the two pieces act as one. I should have wired the edge but I didn't want to use hat wire as it can be too easily bent. What I would narmally use is heavy duty fishing line or whipper snipper cable zigged onto the outer edge. I hope it holds up for the run!


It all turned out well in the end, and I just squeaked it all out of 4m of fabric while keeping the patterns matched too!

Friday, November 6, 2015

tuxedos and tails

Ahh, this post will be a bit rambling! I feel quite tired!

What have I been up to lately?

Well it seems formal wear has figured prominently this fall. I had a call from a friend who was working on a tv show, and they needed a tailsuit in about two weeks, could I do it?

I already had commited to making some skating costumes but I did not have designs or fabrics yet  and you know what happens once you say yes to one thing, then all the other things suddenly start to happen!

So I said yes and the fabric arrived two days later. I started patternmaking, then cutting and then we made up a period tailsuit - waistcoat, trousers and coat, using very inadequate measurements, no fitting and crossed fingers.
Rush job number one!
Of course part way into the process, I received designs and fabric and the deadline info for the skating costumes. Yikes!
These had to have a fitting- just time for one fitting mind you- and the only time that everyone was able to be together- skaters, myself, and the designer, only left us a window of 5 days to finish and deliver.
That was rush job number two.

It had its share of challenges stretch fabrics for a tuxedo, non stretch for a sweater like garment....which I hope to get time and inclination to organize my thoughts so I can post about it!

A big sigh of relief when I received messages that everything was great and off they went to compete, and they won! Hurray!
Three days later I get an SOS message, and it turns out they needed to change their program completely and they had two weeks to pick new music, do new choreography and have new costumes made. Could I do it?
What can you say?  How terrible for them to be put in such a position!  I said yes.
So the change was to a tailsuit, with a nod to the Edwardian era, and with a bit of ambassadorial splendor.
So trousers, waistcoat, bow tie, order and medal, sash and a tailcoat. The fabric arrived Friday morning. I cut all day Friday, we sewed Saturday, fit it on Sunday and finished it on the Friday.  They tried it on ice on Sunday, and flew to their next competition Tuesday.
Rush job number three.
Oh, they won by the way! yay!

Then I got sick. Of course- too much stress and your body kicks you when you are down.

I leave tomorrow to work for a month in Montreal.
Four weeks to cut and make a show- which compared to what I have been doing, seems like "bloody luxury" as we say -but I am sure it will have it moments of being a rush job too.

Here's a photo or two for good measure. They were taken from their tumbler site. No photos of the tails for the tv show- I don't know if it has aired yet....

These two - Andrew Poje and Kaitlyn Weaver are just wonderful - as athletes and as people- they are as lovely as they look.


 That's all for now, I have to go and pack.

Monday, September 28, 2015

reducing bulk in seams


This is a bit of a long post!

One thing I find challenging in building period costumes is how to deal with multiple layers and the resulting bulk in seams.

In this mock up of a doublet I had to figure out how to deal with the bulk of seam allowances that could end up in the armhole.
How much bulk is too much- when does it get difficult to sew and more important irritating to wear? Lets talk about the armholes first.
We have the body of the doublet which is a sturdy cotton duck with velvet flat mounted over it. The doublet will also have a lining in it. Three layers in the body armhole.

There is a long under sleeve that will be in velvet. It needs to be flat mounted on a lightweight cotton to keep it stable, as it will get trim. There will be a lining in the sleeve as well. Three layers in the under sleeve.

The small puff sleeve goes over top of the long sleeve and it will remain unattached on its bottom edge-
This puff consists of a base shape in cotton, onto which we sewed a few rows of gathered netting to create the rounded shape. Over the netting, there is a gathered layer of fabric- lets call that the pouf.
Then, over the pouf are panes, each of which consist of a base layer of cotton silesia, then a piece of fusible cut to the finished size of the pane. The velvet will get flat mounted on top of this. Each pane will have a trim applied to the long edges, and then each pane will be lined.

So that is two layers for the base and pouf, then panes have silesia, velvet, and lining, plus trim.


So that is a lot of fabric into an armhole.

I went on a bit of a search at work and saw a number of different techniques dealing with this issue. On some ladies garments with paned sleeves, the panes were bound off with one continuous binding, and the binding was hand sewn to the outside of the armhole. This kept quite a flat profile to the top of the sleeve as the panes do not have to curve up and over.

I liked that but thought it might be not strong enough for this costume, but it did give me an idea!


Here is my idea sample:


What I did was cut a piece of bias and sew the panes to it by machine. I then wrapped the bias around the seam allowance of the panes and stitched it down.


Turn this around and lay it over the sleeve and you get this:


So, now I have eliminated all the bulk inherent in the panes from going into the armhole. Yay! 

The bias was cut from the same material as the pouf, so the binding will just disappear. The bias is stitched to the sleeve base along the sewing line. This does not mean that sewing this sleeve in will be made any easier, because it must be carefully stitched right up against the edge of the binding, but it does eliminate bulk.


The view from the bottom- all the component layers are caught together and bound off in matching velvet.
Just a look at the sleeve from the side. 


and lastly, a fitting photo before all this was figured out! 

Monday, August 31, 2015

coming up for air, and more ruffs

The season at work ended in much the same way as it progressed all year- at full speed and intensity!

I went away for a week, but once I was back home, I felt that I should just remain horizontal for as long as possible in order to replenish my mind, and get rid of the tension in my neck. I needed some time to reconnect with my husband and daughter, and do something with my garden before the neighbours complained.
I have been diligently looking for work as well, so I may have two upcoming projects. For now though, I want to make a few notes and posts about some other things I worked on this season while it is still somewhat fresh in my mind.

Before I get to that I wanted to show you the ruff that we made for the black doublet/large trunkhose costume.
This ruff was quite large (71/2" neck edge to outer edge) as the character was supposed to look like his head was on a plate. The designer wanted to support the ruff with a wire frame or supportasse. This became a project between myself and the millinery and bijoux departments.


My part of it was not only to make the ruff, but to give my co-workers a neck shape to work from.
I have seen examples of these supportasses with circular spaces for the neck, but the neck is not  circular, so we needed to start with a proper shape.
We also needed to figure out how the ruff and supportasse worked with the doublet. As well, how does the actor get into it?

Since we were using a wire frame, we determined that the ruff will sit along the top edge of the doublet collar. We have to attach the ruff to the supportasse and the whole unit to the doublet collar. It needs to be removable for both cleaning and storage as well as just to functionally put it on.

I have seen examples of wire supportasses that had "prongs" of wire that extended downwards and were inserted in channels on the collar, but we decided against that.
In the end we decided to make the grosgrain neckband of the ruff extra deep.
I believe we made it 1 3/4" deep in the end. The depth of the ruff at the neck edge was only 1 1/8" which left us with a good 1/2" of grosgrain "flange" that would tuck inside the doublet collar. We sewed snaps onto the flange and matched them to snaps that were sewn to the inside of the doublet collar.

Once the ruff was prepared, we had a fitting to confirm the fit of the doublet collar. At this stage the ruff is not completely finished- we always leave extra length in the grosgrain and of the ruff fabric to make any further adjustments.
We had prepared a flat template in light cardboard of the ruff  size with the shape of the neck cut out. Then we confirmed the angle that the designer wanted the ruff to sit at. Once the neck shape in cardboard was correct, the supportasse was made. An important note- the supportasse does not meet at the CF. It has a gap of approx 2 inches to facilitate putting it on.

We then laid the ruff on the supportasse and basted them together aligning the inside neck edges.
At this point we had a final fitting. We then removed the supportasse and finished off the ends of the grosgrain and the ruff itself, then added closures to the front of the ruff and reattached the ruff to the supportasse by hand.

The ruff was the last piece of costume that the actor puts on. Once his doublet is fastened, the ruff is put on by twisting the front edges in opposite directions just enough to get his neck through it. Then it is aligned and snapped to the doublet collar. This takes a bit of dexterity by the dresser who has to reach over the ruff and get their fingers of one hand in between the actors neck and the ruff grosgrain, to locate the snaps by feel, while with the other hand is under the ruff, supporting and pressing the snaps together from the outside. The ruff opening at centre front is snapped together last.

I think it turned out well, but I did wonder a bit about the amount of fabric needed for ruffs this large in diameter. I wondered if we should have sewn the inner neck pleats closer together, forcing more fabric into the neck circumference thereby using more fabric overall which would translate into more fabric to arrange on the outer circumference.

Just something to contemplate for the next time, but I think in the end it turned out rather well. I will have to keep my eye on it and see how it fares over a season of wear and tear. Hopefully we can get more than a few years out of a ruff as they are time consuming (expensive) to make.

Next week I hope to get some thoughts on paned and puffed sleeves onto "paper"


Sunday, August 2, 2015

catching up - Trunkhose

Well, time just seems to be in short supply these days.
We have had such an intense couple of weeks trying to get these two shows up and running. It required a few more people than expected and luckily management was able to bring in some extra hands to assist us. I am just coming up for air now!
We also have had an unusual situation in requiring a rebuild of a doublet, so we will be whipping together a new doublet at top speed, because we are scheduled to be finished our work by Friday.

Where did we leave off?
ahhh... trunkhose. I was really trying to get a pair fully documented but due to the intensity of the many aspects of my job, I cannot seem to get time to get a photo at every stage, no matter how I try!

So here is what I do have.


The breeches are gathered in at the waist and checked before the excess fabric above the waistline is cut away. We started with a large pleat at the centre front and centre back then ran gathering stitches by machine, using a heavy nylon thread in the bobbin. The two layers of silk here just managed to be gathered to size. If we couldn't gather it by machine, (the machine stitch length is limited to 5 or 6mm) our only other option was to hand stitch the gathering lines. 

Once everything is deemed to be okay, the waistband fabric is stitched to the silk. The inner trouser is put in place- you can see its seam allowances sticking out of the leg in this picture.

After that we attach the two layers together.
In this method of having an inner and outer layer, we are making the inner layer the most functional- in that the CF fly has a zipper and a structured waistband. The outer shell of silk therefore floats over top, attached at the top of the inside kneeband and at the waistline. 
The seam allowances of the gathered silk layers at the waistband are turned downwards, and live in between the inner and outer layers. this makes the waistband smooth and flat. If those seam allowances were left upwards as one would normally do with a pair of trousers, the waistline would become thicker and bulky and then the doublet would not fit over it all. 

This does take a bit of wrangling, marrying the two layers together at the waist. 

We get it all in place, basted by hand, then using a zipper foot, stitch by machine through the waistline catching all the layers together. The top edge of the silk waistband is then hand felled to the inner structured waistband to finish them. The centre front of the silk layer can either have its own closures or it can be slipped down to the CF of the inner breeches. You have a few choices in how you want them to close.

I think one of the advantages of making them like this, is that the top layer could easily be removed from the inner if you wanted to reconfigure them for someone else in the future. The inner structure is smooth against the person wearing them, the profile of the outer silk can be changed by adjusting the inner leg length, so they can be altered for a different design or taller or shorter person fairly easily.

I did get some photos of the almost finished outfit on a hanging stand, but the stand is much longer in the body than the actor wearing these so please imagine if you will, the waistlines meeting!


I hope my verbal descriptions make sense to you. Perhaps next time we make a pair of these I will get a chance to take the missing photos!

Cheers!

Saturday, July 11, 2015

Trunkhose continued

Sorry for the delay in the trunkhose saga- it is getting to that time of the work season where any extraneous activity (other than a glass of wine and putting your feet up) seems impossible.

So, continuing where I left off, the bottom edge of the trunk hose was prepared with the cartridge pleating stitching in place. This is done with heavy thread (to prevent breakage!) and consists of a running stitch of the length you want the pleats to be, in and out at 3/4 inch for this project. this is not the same as "picking up the dots" method in which you take a tiny stitch every 3/4".

We need something to attach the pleating to, and in this case we need a knee band. In the toile, the band was a straight band of grosgrain, but I wanted to try to form a shaped band. I also wanted the band to extend below the attachment level so we had a visual "knee band" without adding a separate piece.
To create this we shaped a wide piece of grosgrain, and covered it with a piece of the silk cut on the bias. it is sewn on from the inside, wrapped around the lower edge to the right side, and attached at the top edge by serging the pieces together.

A stitch was made in the middle to mark the line where the pleats will attach and then the pleats are marked out at .5mm spacing.


Once the band was ready the cartridge pleats are drawn up and sewn by hand with strong thread to the marks on the band.
I didn't get a picture of the actual stitching- sorry- but it is the same method as seen in the ruff posts here.


Here is a shot of the inside of the leg and another picture showing the outside of the leg.


Next step will be joining the two legs together, then  installing the inner trouser and arranging all that fabric at the waist.
Then a fitting!

Thursday, July 2, 2015

Prominent chest - pattern changes


While browsing through a sewing forum, I noticed over and over the plight of adjusting a pattern for a full bust. There are many solutions offered both online and in many of the sewing books, yet many people still struggle with making sense of it all.
Here's a little sample of what I did to deal with a garment that needed more room in the chest, but fit well in the front length, armhole, neck and waist.
Whereas in women's wear, darts are an accepted way of dealing with shape, the challenge with men's costuming is often how to hide the shaping in a garment, in order to keep the traditional construction format.


I recently fit a doublet and while pinning it up the centre front, I found that it closed on the line at the neck and at the waist, but at mid chest, it would not.
It went off the line there by 1.8 cm.
The person I was fitting had a prominent pec area, and that was the cause of the gap. What often happens with a full chest is that there is a lack of length and width.
I had enough length in my pattern for the full chest so I am only correcting for width.


You can see that the pattern CF line is not straight, but it is curved already from the mid chest to the neck. This is basically a dart, which is masquerading as the CF seam. I did not wish to increase this CF "dart" by just adding the extra at the CF line and tapering it off to the waist and neck. 
Now, I split the pattern vertically through the mid chest, and separate the pieces half the amount of the gap. I need this much more at the mid chest level but in splitting the pattern I have made the neckline  larger and have increased the length of the side front seam. I don't want that, and so I need to modify the pattern further. I need to close the gap!
So, here you can see that I have made two cuts in order to further modify the pattern. One is at the chest level, and the other one is cut diagonally from the side front seam to the mid chest. 
I can now bring the neck back to the way it was and also close the gap in the seam. What happens though is the CF opens up and gains some length, and the side front seam also had a small increase.
Depending on your fabric and method of construction, you may be able to ease in those small increases. 
Here is another option. This time only the horizontal cut at the chest level is allowed to open up as the neckline and seam line openings are closed. The increase in width at the chest is maintained, the neck and waist are kept as they were. 
I am making doublets backed on cotton duck so easing is not easily accomplished, so I opted for this method in the under structure of duck, and used the previous method for the fashion fabric layer. 
The horizontal dart is cut out completely and the raw edges are butted edge to edge and zigged closed with a strip of fusible tape to reinforce the join. The outer fashion fabric is applied over the shaped duck, carefully maintaining the shape you have created as you do so.

Thursday, June 25, 2015

Trunk hose: the outer fabric layer

It is very difficult to stop and get photos of the process!
I have a lot of cutting to do and it is beginning to feel like not enough time to get it all done!
This is a very familiar and unwelcome bit of stress. Sigh.

Well, the under structure for the large trunk hose was discussed in the last post, and, to recap, I am building an under trouser base, onto which is attached the structure that will give the finished garment some shape. Then we will construct the outer fabric which will go over the structure and then marry the layers together.

These trunk hose need to be very large, and one of the challenges is to reduce a large amount of fabric to fit the leg, just above the knee. My pattern is approximately 100 inches from front to back fork.
I need to reduce it down to 18 1/2 inches or so. One way to reduce volumes of fabric is to cartridge pleat it. This technique is very similar to how we make our figure eight neck ruffs.

I calculated 3/4 inch pleats to be stitched at every 1/4 inch so that means every inch of finished pleating uses up 6 inches of fabric. If I made it 1inch pleats, stitched at every 1/4 inch then that would use up 8 inches of fabric.

I set up the pattern to have 84 inches of fabric to be pleated into 14 inches, and the remaining fabric to be gathered to fit the leg.

Here is the pattern being laid out.

You can see a dart here that marks a transition point between the cartridge pleated area which must be a straight line, and the area that will be just gathered.

I am using double faced silk satin here, and it will also be "pinked" or cut full of holes to show another colour of silk through the cuts.

I will leave a 3 1/2 inch fold over for cartridge pleating. The fold will be stabilized with a bit of lightweight bias wigan. This fills out the silk and also gives a sturdy edge when stitching the pleats down.
This 3 1/2 inch fold over also gives us a seam allowance to attach the coloured silk to.


I can't fit the whole leg into the picture frame!
In this photo you can see the silk attached and the 2 parallel rows of stitches for the cartridge pleats.


You must use strong thread here, and mark your stitching points accurately. you stitch down on one point and then come up through the fabric at the depth of your pleating, so ours is spaced at 3/4 inch.
We got this far in preparation before we were able to get an answer regarding the pinked cuts to be made in the black outer layer. Once we had our answer, we peeled back the yellow silk and marked out the grid of cuts to be made.
Here you can see the leg from the right side, with the pinked cuts (cuts on the bias), as well as the effect of the dart which helps the fabric turn the corner toward the inside of the leg.


After this the two fabrics are joined together as one in along the seam lines. we then serged them together to keep everything from fraying.

Next up is the pleating, and making them into a wearable garment.

Just a note of thanks to Shona for her hard work and willingness to think through the process with me!

Monday, June 22, 2015

Trunkhose: thinking it through


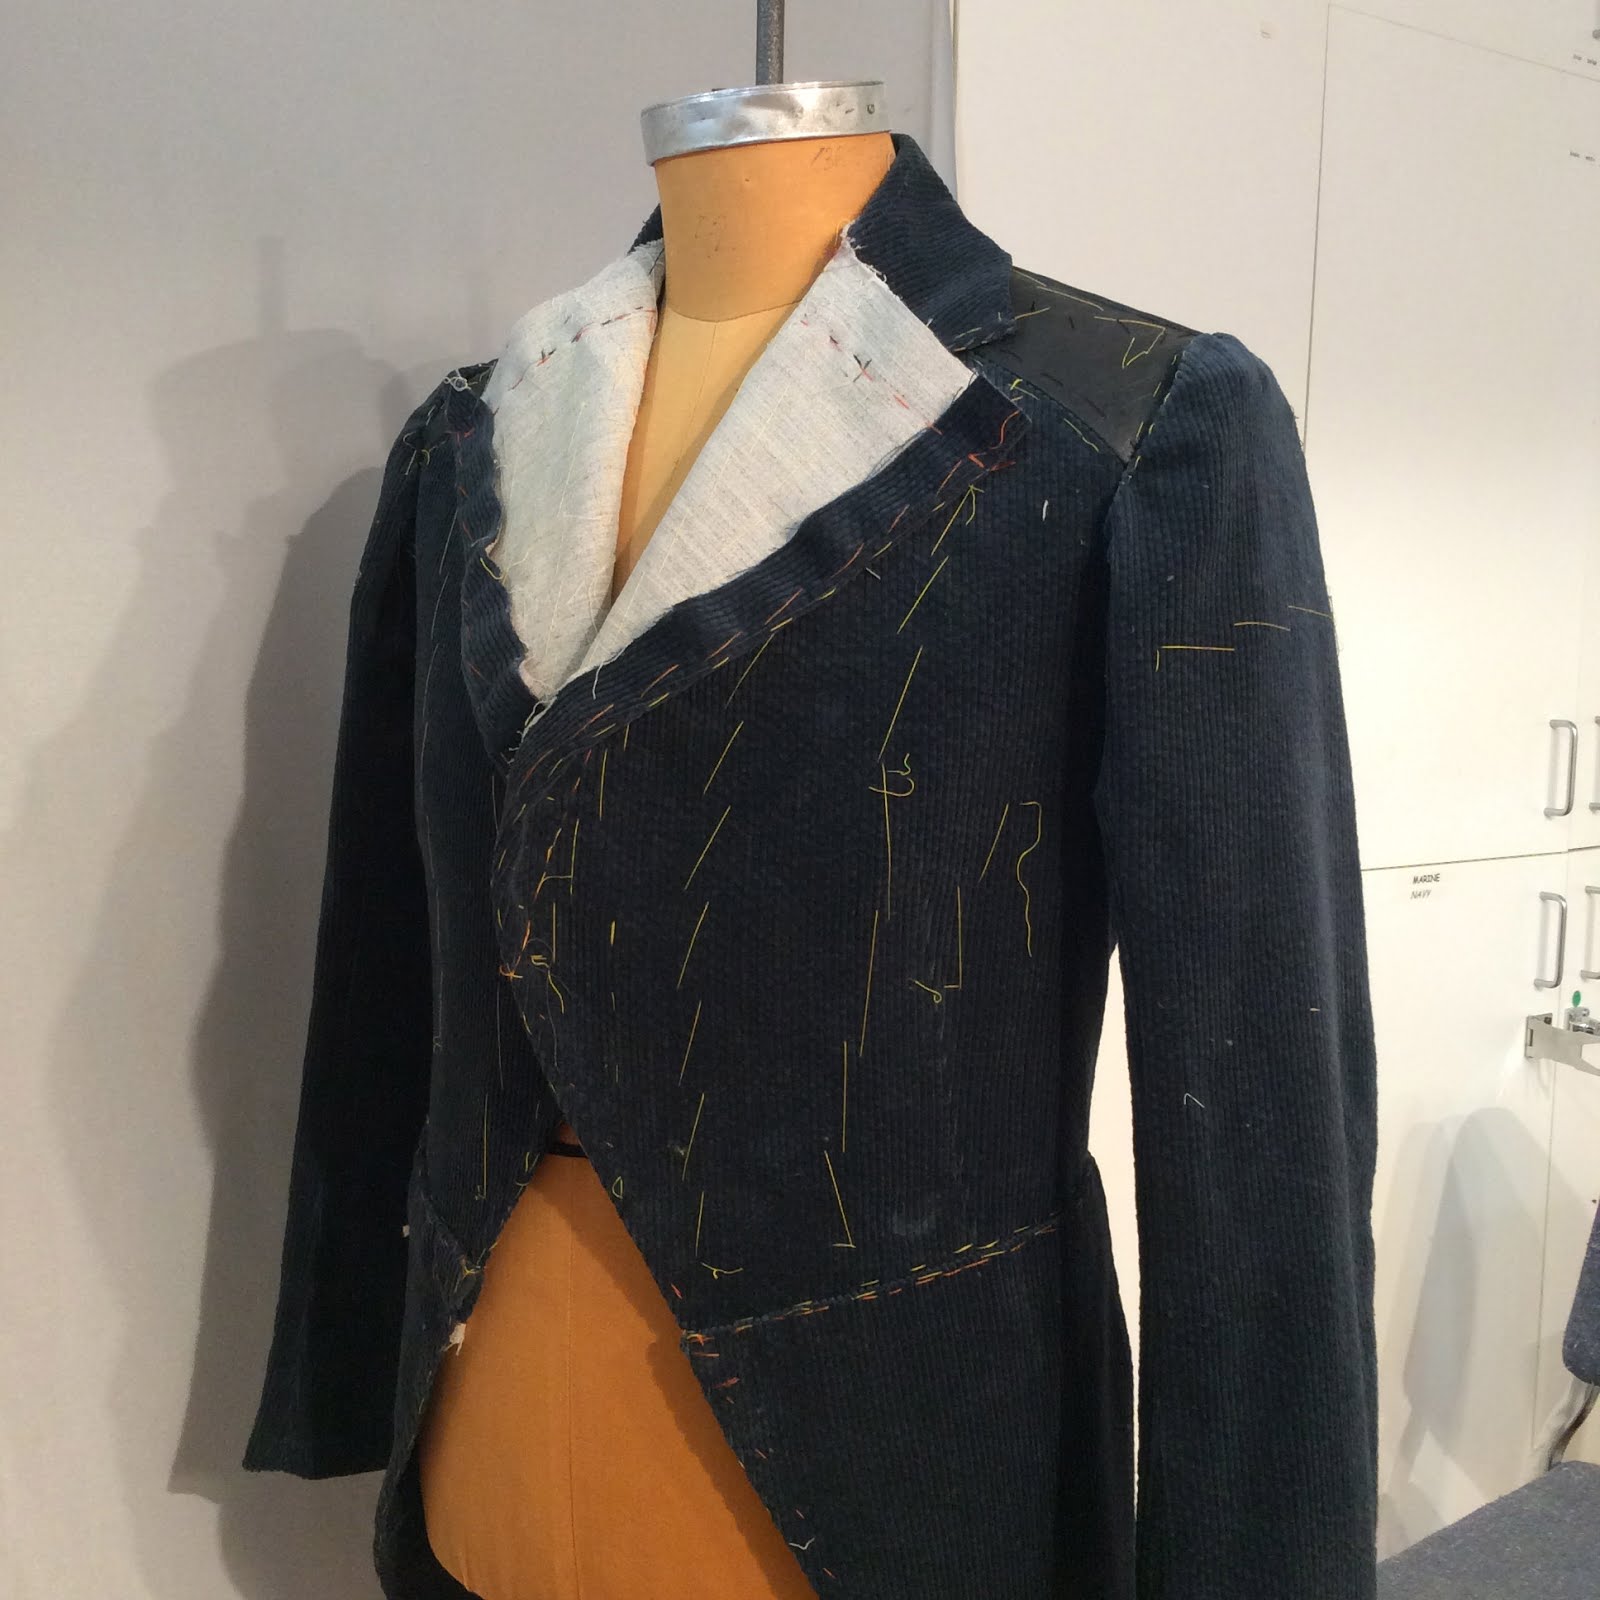
There are a lot of things to consider when making Trunk hose.

How to get the shape or silhouette you desire is first and foremost, and how you are going to put them together is another. Bulky seam allowances and overall weight come into consideration as well. How are they going to close? How do you marry the support structure and the outer fashion layers successfully?
Remember there is no one official way to achieve this- experimentation is key!

In the distant past, I remember seeing cutters constructing the trunk-hose shape by stitching rows of gathered tulle onto a fitted trouser base much like one would when constructing a tutu, then shaping the silhouette by trimming the tulle.
Quite a lot of work to prepare, but a very sculptural approach as you cut away the tulle into the shape you desire. It is like giving the tulle a haircut to get the shape!
If the tulle is stitched densely the shape is firm and stays firm for many years.
Once the shape is achieved the cut edges of the tulle can be a problem with abrading the covering fabric  so either the tulle usually needs to be covered or the pouf fabric needs a backing.
I think that approach works well for a pair of the very short Elizabethan trunk hose, the amount of area to be covered is small and the density and weight of layers of tulle is minimal.

If I am making a larger volume trunk hose or slop style I usually start with a fitted base pair of breeches.  How fitted they are depends on the look you are trying to achieve, particularly in the placement and fit of the canion area.

Here is the base front for the really large comedy breeches. I have marked in a line below the waist where the top hip roll may sit, and also lines mid leg for the crin ruffle. Closer to the finished length, I mark the area where the grosgrain (we are cartridge pleating the lower leg to grosgrain) will come to and where the lower edge of the crin will come to. I offset the crin from the waist and lower leg seam to eliminate bulk in those seams.

Here is the crin sewn to the mid leg lines. I think we decided to move them closer together than where I had originally marked after seeing how it looked on the stand.
The base will be made with a zip front closure and you can see a waistband has been sewn on with the finished side to the inside.

We tried a gathered single layer of heavier crin at the waist here, but it didn't give much of a "shelf" so we gathered up that loose edge and made a "hip roll"

You can create "hip rolls" by cutting a rectangle or oblong shape of crin to start. Cut the crin double the finished width  you need. Serge the cut edges of the crin. Sew gathering stitches along each long edge of the crin. Use a heavy thread like Bell thread in the bobbin to reduce thread breakage and frustration!
Gather the long edges of the shape down to the size you wish and sew each gathered edge to a piece of twill tape. You can then sew one twill tape edge to the base, and sew the other edge below it in a parallel line. If you sew them close together you get more horizontal distance and rigidity and further apart will give a more gentle shape and support. Crin comes in different weight, so that can be used to your advantage if you use the heavier for the area that needs more support, and the lighter for less.

We have found that sewing the crin into modular forms is easier to move around to create shapes.
I think that sewing the crin directly to the fitted under base can be a nightmare to modify or alter, so we are trying to attach it first to twill tape, then sew the twill tape to the base. if you want to move a layer up or down, it is a simple matter to unpick it and sew it elsewhere.


I also like to use the light crin as an overall under layer/pouf to both give shape and to protect the outer fabric. You can see that it has been sewn on so that it rolls up and over  for a bit more lift. you can see that there is still an inch of space there below the waistband as I want to leave space for the seam allowance of the fashion fabric once we get to that layer.

At this point, we draped the mock up leg over the shape to see if this was heading in the right direction.
I darted (horizontally) the large piece of crin at the front and back edges at the level of the mid leg to reinforce the shape and to reduce excess length in those areas.
We will tack the mid leg riffle to the out bag so it doesn't fall down. I think if this needed even more support I could sew in a horizontal piece of nylon boning to support the circumference, but I will wait and see what the designer thinks first.
It is a good idea as you are going along to think of what you can do to make changes if required. Not everything works as well as you might hope the first time so have a strategy!

Once one side is good, we do the same to the other side and then sew the two legs together. This pair is going to get big fast! Sideways through the door big.

Sunday, June 14, 2015

Trunkhose part 1

I think I am bored with the weekly pictures of my table, are you?
We will just continue on with some other items then shall we?

Trunkhose.
 I leave it to you to look through the Internet to your heart's content for images. 
a disclaimer: I am not in the business of pedantic historical reproduction. I am interpreting a designers vision in modern fabrics for a specific theatrical purpose.

Not my favourite garment to make.
You may think it is strange for someone who works in this milieu but there you have it- I confess to not enjoying making them. I think it is because I have never had the luxury of time to dissect what I am doing and why. They have turned out well enough in the past, but now I have to make some more and I am determined to document what I am doing and why, and maybe learn to love accept them.

First thing first- there are many ways of approaching and constructing them and I have made them in a number of different ways over the years. Luckily for me, I also have access to the past. I mean a costume warehouse of 60 years of costumes, so I can and sometimes have a critical look at what cutters did in the near and not so near past at work.


So the first thing I have been doing is to draft up a pair of breeches that will provide the base of support to build the trunkhose on.
Trunkhose for the theatre need support structures (most of the time) to maintain their shape and silhouette. The shape varies from shorty short Elizabethan trunkhose to round "pumpkin pants" to teardrop shaped fully padded versions, or just enormous unpaned slop styles.
The support they need is both vertical and horizontal. Vertical control keep the length of the outer layer in place. If you just made longer breeches and pushed them higher on the leg, you create a shape but what keeps it from slipping down to its former position?
Horizontal control of the silhouette is often needed to maintain the shape after the vertical length is controlled. What will help them hold their shape over the long term? If there is no support, over time and wearing and dry cleaning they tend to collapse and droop, and that may not be what you want to happen.


This is a rough start to the process in these photos. 
In a perfect world, I would have a separate fitting for the under breech, but time is precious, so I generally mock up only one leg of the truck hose, allowing me to fit the under breech and give the designer a look at a rough silhouette of the trunkhose on the other leg. 

I have a very large "comedy" pair of breeches to make as well as this paned version, so I will try to be diligent and document the process for each of them over the next few weeks. 
Stay tuned.


Saturday, May 30, 2015

week 19 and 20, so far so good.

I think all my "get up and go",  got up and went!

Here we are at the end of week 20 and I have fallen behind in my posting.


Well the table still looks tidy in week 19. The sample modern suit is still hanging around, and I have someone working on the one I cut, getting ready for a fitting. We were just finishing up our understudy costumes, so many fittings were still happening. Sometimes another actor is just the right size to wear someone else's costume, and that saves us time and money when that happens. Occasionally the understudy is no where near the same size as the original actor, but luckily we have 60 + years of stock costumes to find something appropriate. On the rare occasion that nothing fits and nothing is found to be appropriate, we build an understudy costume.  I have been lucky so far this season and nothing has to be built from scratch for the understudy.

That being said, we were still working on the Naval uniform which is the actual costume that will be worn in the show. The actor has a stand in uniform that will do for pre-views until we can sub in the new one.
Here it is in process.


I don't think I got a final photo of this one, so I will have it sent back next week to do so. I was trying to take some pictures of the patterns as well, so in the fall I may have a bit of a pattern show and tell.

I have also started on one of my next shows which is set in the mid 1600's, and here is my table in week 20.


I confess I feel a bit battered by bouncing back and forth between the centuries sometimes. 
I had the 19 century going on with the Naval coat, still doing fittings and notes on the 18th century show, plus I have a modern mid 20th century suit to make and now the mid 17th century plus an Elizabethan show to start next week.

Enough for now, it has been an intense few months of work and a few more months are coming before I will be taking a well deserved break- of course that means I will be unemployed! 
such is the life I lead.
Take care, and  enjoy your days off when you get them.