Tuesday, March 30, 2010

SB suit

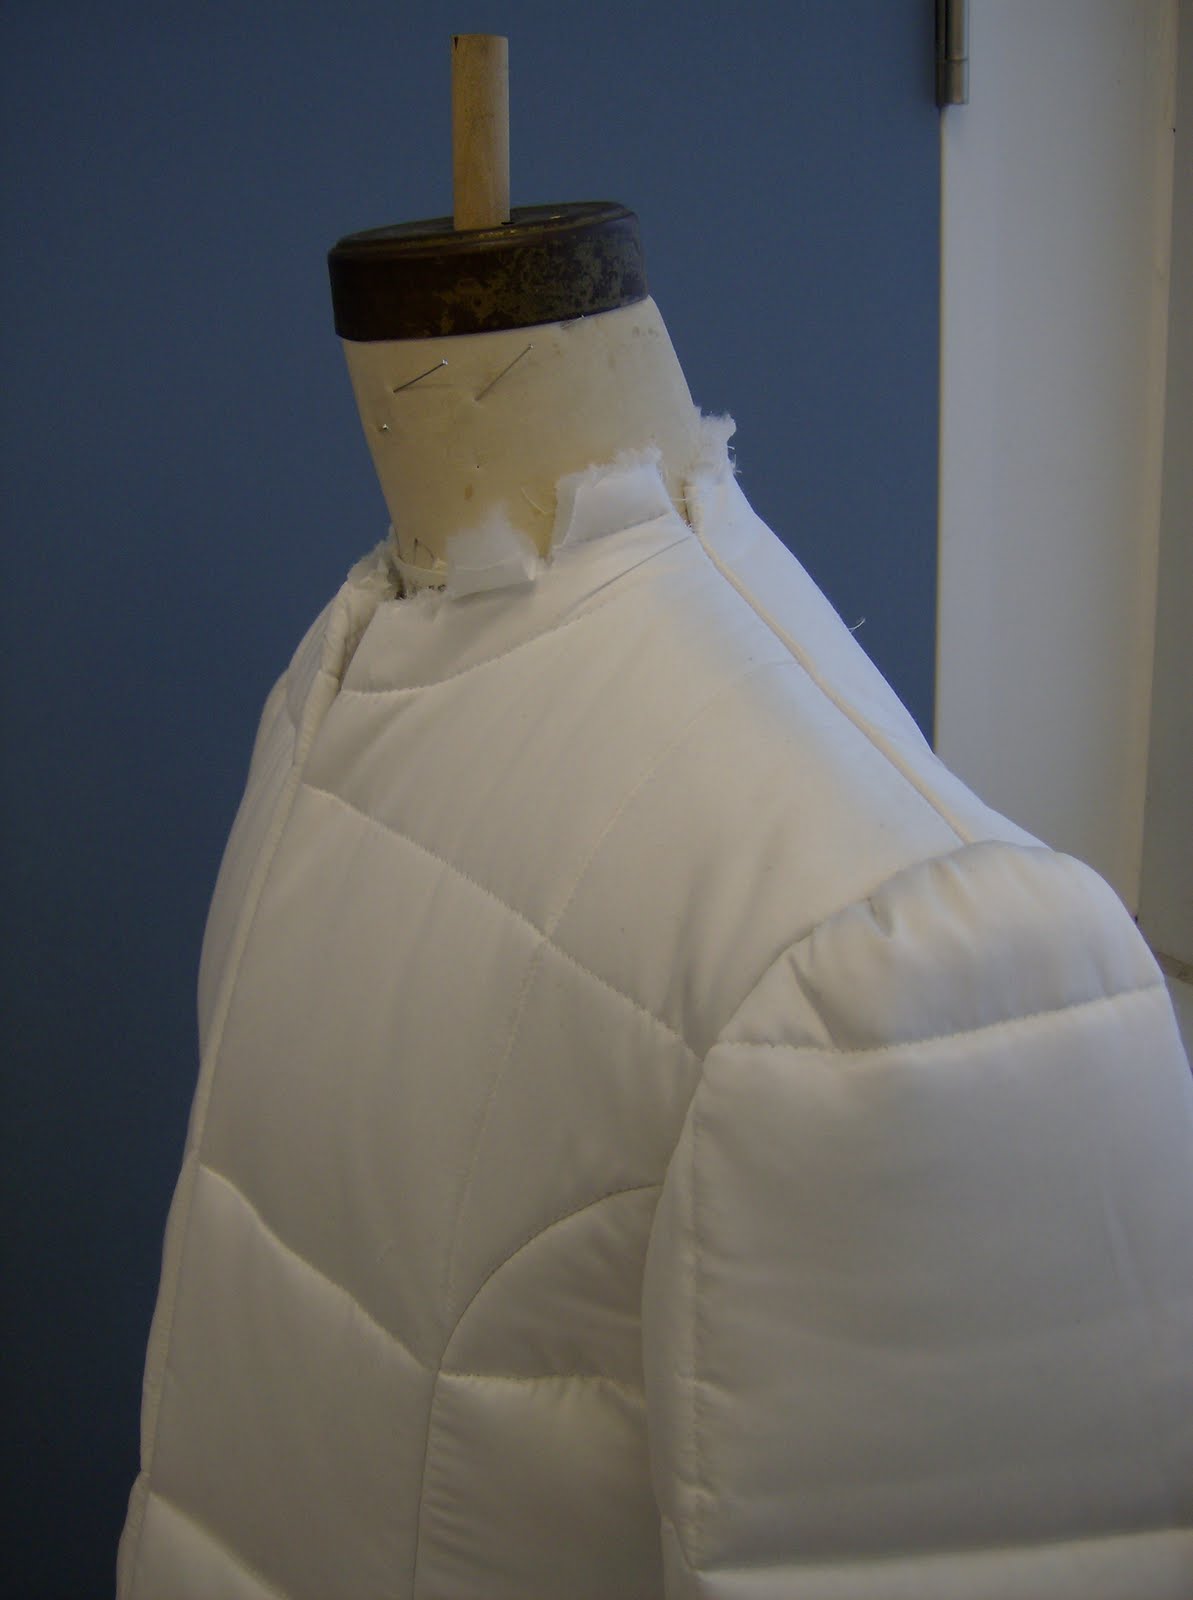
This is not a very good photo (ok, its a terrible photo)but I am putting it here to remind myself at least, that I am happiest cutting suits and now that I have (with Lela's help especially) finished with the doublets and trunkhose, I will have nothing but suits to cut for a while.

This suit was made of a very, very lightweight wool-I could see daylight through it. It was skillfully handled by Karen -waistcoat, Denise-trousers and Silvia- jacket.

I opted for an interlining/flatmounting of washed and preshrunk silesia to give more substance to the waistcoat, and I lined the trousers fully both front and back, top to bottom. There is nothing worse than seeing stage light through the unlined back of a pair of trousers with fabric like this.
The jacket had a piece of bias cut silesia interlining in the upper shoulder area to mask the shoulder pad insertion but was otherwise constructed in the usual manner.

I didn't fit a cotton toile of this- I cut right into the fabric, for a skeleton baste up- and this was its one and only fitting after that. Small changes to make- trousers too long for instance but otherwise off it goes in a whirlwind. It would be nice to do this a bit more slowly- but that won't happen anytime soon I guess.

I will revisit this pattern since I will be making more suits for this gentleman this year- another SB, a DB, a military uniform, and a set of tails. Making this many suits for one actor doesn't happen very often but I am looking forward to it.

Friday, March 26, 2010

trimmed child's coat


Making trim for the coat was the final touch before I packed it up and sent it off. I was using the drapery fabric that we had used on some of the other costumes.
I had to make a "furry" cuff as well as trim the the collar and make some small pompom like puffs.
For the cuffs, I started with a bias tube of the plain white fabric, pressed flat, to act as a base to sew on. I cut a wide piece of the drapery fabric and folded it accordion style then cut into the edges randomly.... Folded it in half, offsetting the edges a bit, and then gathered it along the folded edge.
I laid a piece of this on the bias tube and stitched it down. Next I laid another gathered piece on the first, with the folded edges just overlapping. To fill in the middle I took a single layer of the cut edge drapery fabric and gathered it down the middle. This was laid in the middle and stitched down to the bias strip.
All that was left was to stitch the bias tube onto the end of the sleeve carefully by hand.
I made a little belt for the back and some pom poms and it was done.......... Here's before and after ( I kind of like the simplicity of the untrimmed version, but the design was otherwise)

Thursday, March 25, 2010

coat collar continued

I cut the collar on the bias in one piece- without a CB seam because of the bulk (and extra work) a seam would add. You would usually have a CB seam in a bias cut collar - such as the under collar on a suit -because you can ensure that the bias is the same on both halves. The 2 biases in a fabric stretch differently.
Onwards..

I check the collar one more time by pinning it to the neckline, then I bound the outside edge with bias binding and serged the neckline edge.This collar will only be one layer of fabric thick. This was only being worn a few times so a serged edge was ok.


I proceeded to hand stitch the collar to the neckline of the coat. I am using a heavy button/craft thread to do this and whipping evenly over the serged edge

All done- here's the finished collar installed and the coat is now ready for trimming which I will show you next. You will notice that with the one piece bias collar, the quilting pattern is not the same on the right and left, since I was covering the collar with "fur" it did not matter. If it didn't get trim it would have been a better choice to put a seam in the CB and have a symmetrical look.


Wednesday, March 24, 2010

collar for child's coat


I had to make a child's floor length coat that was similar to the men's coats that I showed earlier. One difference was that the child's coat zipped up to the neck and thus required a differently shaped collar.
I started here with the coat on the stand with the neckline machine stitched to compress the batting.
I could have drafted a collar but I often find when I get to this stage, it is just as easy and quick for me to cut a rough shape out in the fabric by eye (I have been at this a while and I kind of knew what the collar shape should be) and drape a collar.
One advantage is that I can see right way what this fabric is doing rather than make a paper draft and try it twice.
Here's my rough shape cut on the bias. Just half the collar to drape with. I have to make sure that the CB does not pull out of alignment when I pin the collar shape on.
Here it is pinned to the neckline, and then as it looks when it is turned down.

I measured the neck sewing line to get the proper measurement to check against what I have draped and then this is my corrected pattern on paper.
Next: cutting it out and sewing it on.

Sunday, March 21, 2010

a quartet of sleeve shapes

A short interlude from the Olympic costuming.

A quartet of sleeve shapes to show you today- I think these are the reason I feel swamped and am working overtime.
The challenge was to make Renaissance type period sleeves "cubist" in effect, so in the places where you might see a soft gathered puff of fabric around the elbow for instance, we want to achieve more geometric shapes. These are some of the preliminary thoughts in three dimensions- I didn't take pics of the accompanying patterns- that was thoughtless of me- I'll try to find time to do that. The workings of my brain these days feels rather disconnected.

We've named them, from left to right: the lantern, the pentagon, the hamster wheel and the wheel of cheese.

The hamster wheel: This one is a faceted 8 sided shape- pick an outside dimension that you want 22", calculate the vertical dimension lets say 6 1/2 " as well as the size of the openings at either end- one is 40 cm and one is 34 cm (based on the size of the support sleeve above and below the elbow)
Okay, I know I mix my measuring systems around- I use metric and imperial freely to suit my purpose - usually depends on whether I am dividing or not.

Draw up the base shape that is repeated eight times, cut in some horrible nylon stuff, stitch together and hold the shape out with riglene nylon boning. I think it could be less sloppy looking if it had been sewn a bit differently. The riglene really needs to be machine sewn to hold the shape out. Sewing them can be a bit of a trial and error process. ("oh, but don't forget we have a tight budget") Budgets are another story in themselves, I won't go there.

The pentagon- similar process- a central panel with the circumference and height chosen, marked off in five equal sides, then shaped in above and below into an offset circle so that the bulk of the shape was on the outside of the arm (negligible effect). The shaping above and below the central panel- is a five sided funnel which I figured out really easily on the day but it totally eludes me today.
Stitch in rigilene along the central panel, bending it at the facets. We ended up using this one on the costume and we put a circle of rigilene inside the pentagon of riglene to ensure it will never collapse.
We also needed to keep in mind that the fabric coverings will need to be ever so slightly bigger so they float just on the shape; too tight and it will distort the shape, too loose and it will look sloppy.
The lantern. This started with a piece of 2" grosgrain for the central panel, with basically two funnel shapes attached to it. One side of the funnel is long and the other is shorter because i didn't like it and I cut it off which made the hole bigger- but I needed it to be a certain size, so I put in small tucks by eye to reduce the size, then sewed on the twill to hold it there. Sometimes the things that go wrong initially can lead you to shapes you hadn't thought of originally. I like this shape.
The cheese wheel- this is similar to the lantern except that the central panel is wider and the "funnels" attached to them are flat. They are just circles of the required circumference to attach to the central panel, with off set circular holes of the required dimensions for the size above and below the elbow. Not successful really.

These are just the little shapes around the elbow- there are different shapes above and below these which make for a huge amount of pattern making, and cutting- probably 3 to 4 times the usual required for a costume.

Sunday, March 14, 2010

tabard with wings

One of the groupings of costumes was called the "First Nations Family" This particular piece was worn by the elder male of the group (sorry , I can't name names here) who is, in real life, a First Nations chief from the west.
This costume began with simple hip length, long sleeved quilted tunic that zipped up the front.
Worn over that was a quilted tabard that I manipulated the quilted design to be rectangular zig-zag blocks rather than stripes.
Worn over the tabard was a cowl with "wings" (for want of a better word), at the back.

In the case of multiple layers such as these being worn, you need to be able to ensure that the clothes stay in the position you want them to, while they are being worn. I also wanted the performer to be able to remove layers, or leave layers off until the last minute because you can imagine the heat of wearing all this in an indoor arena while waiting to go onstage.
The tunic was closed CF with a zipper. The tabard closed on one shoulder and I snapped and velcroed it it to the tunic so it would stay in position. The cowl and wings attached to the tabard so the whole unit would work as one.

The cowl was built on a yoke structure of cotton duck that covered the upper chest and had a CB opening under the "wings".
I draped the fashion fabric cowl on the duck and stitched in the folds here and there by hand to hold it in place. The "wings" were 2 separate pieces of sun-ray pleated fabric that I attached to the base piece at the back neck and shoulder, folding them over on themselves to give a double layer. These were then hand stitched to the base, and then caught along the CB line which closed with snaps. I finished the back of the cowl shoulders with a narrow binding that was then stitched down over the back shoulder of the wings.
The front of the cowl was decorated with a row of bias tube "fringe" that went through small slits in squares of another decorative fabric. This technique was a take-off of original details on historic native clothing.


I wish I had taken photos of the wings being held out because it was a very dramatic and effective look.
I also wish they had shown more close ups of these during the ceremonies.
The look was topped off by an elaborate pleated head dress that was made by the very talented milliner-Kaz. I'll ask her if she has any photos to show.


Friday, March 12, 2010

floor length quilted coats

One of the designs I cut was a set of floor length coats for three different men, all with different quilting patterns. (the coats, not the men!)They had a bit of an early 19th century feel in some of the seam detailing as well as the shapes of the sleeves.
I wanted to get a nice flare in the skirt of the coat, and I achieved that by cutting a separate front skirt panel, and at the back, continuing below the curved back seams I put in an inverted box pleat. If I remember correctly, that pleat was seamed in behind so the rest of the back skirt panel provided even more flare.

The skirts needed to be divided into sections like this to keep the quilted square design matching. What I mean is, if I had cut the skirts in one piece as a large flared panel with pleats, matched the quilting design at the front, the pattern would look like it was dipping down as the skirt travelled around the body- does that make sense to you?


I cut the sleeves like period coat sleeves, with more arm shape than modern drafts will give. They have a shallow depth of crown which means they are a bit wider through the upper arm, and then I added a grown on gusset since I wasn't sure what the person wearing it would be doing. The cuff added a nice detail as well.
I finished these off with some of the drapery fabric made into "fur" that was sewn in behind the cuff and poked out beyond the edge and also was stitched onto the collar.

They turned out quite well, very striking really- but trying to sew the sleeves in with all that fabric in the skirts was a test of my patience at the sewing machine. The other two coats were sewn by Susy and Denise and they didn't seem to have as much of an issue with manipulating it but hey- I usually just make the patterns and cut- that's my excuse!

Sunday, March 7, 2010

Next stages

Continuing with the story of the opening ceremony costumes, we needed the green light to go ahead with the rest of the costumes. The designer was flown out and the costume co-ordinator nabbed office staff in Vancouver to try on the prototypes for the producer to see.
We got the call that all went well- our prototypes hit the mark and were a success.. that sent us onto the next stage which was to get going on the rest as we needed to deliver finished goods by the end of November.

One thing that came out of the prototype fittings was the application of textured fabrics on top of the quilting, and using various fabrics to create effects such as fur.
Now in the past I have made "fur" out of tulle, but this fur was mostly made from a drapery fabric.
The process was simple enough- cut long strips of fabric, then accordion fold them up to a thickness that you can still manage to cut through, then start cutting random triangular pieces out of the edges, as well as cutting into the edge with straight cuts. Open the strips out, fold lengthwise, offsetting the cut edges a bit, then put in gathering stitches along the folded edge and gather to the density required. It sounds a bit loose and it was meant to be- the randomness while cutting ensures that when the strips are finished, you will get a good texture happening. You can then trim or cut a bit more after the strips are gathered and stitched by hand to the garment.


This is a sample of the textured fabric and fake fur "pelts" that were put on this item.
This coat had both an applique celtic knot and an edging of "fur " that was made from a layer of the quilted fabric, which had been cut into as described as well as a layer of the drapery fabric to create the texture.