


Well, since I last posted, work has been quite frantic, and although my contract has ended, my work was not finished! I could have stayed an extra week but decided that time off with the family was more important.
I actually hated to leave the work for others to finish but I am sure Denise and Silvia will be fine without me. The garment that was in pieces was a leather doublet for an understudy. The original was made by someone else on the team, so I thought I would make a little sample of how I remember the process for reference.
Sampling for techniques is something we take the time to do when we are figuring out the best way to put things together, or are dealing with a specific fabric or when we change a previous technique. It is a great thing for new stitchers as well.
Sometimes it is years in between making certain garments so even experienced people find a refresher helpful

This is a leather doublet, with an interior structure of washed/preshrunk cotton duck. It has spiral boning in a few places to keep the shape from completely collapsing over time. The leather has been pretreated by our resident craftsperson who does surface embellishment and also breaks down the finished costumes. She reduced the shine of the original leather and also distressed it and painted it a bit before I cut it out.
Working with leather is not difficult but you do benefit from having a walking foot leather machine. there is the advantage of being able to use a raw edge with leather- no worries about fraying! You do have to be careful that you do not need to restitch over the same area, because the leather can and will perforate- and letting leather seams out leaves a very visible former seam line of punched holes. So it is best to make a toile and then you limit/eliminate any changes once the leather is cut out.
The binding at the waist and the skirt are glued on, clipped and wrapped to the inside before being stitched. That line of stitching is top stitched through the binding. The stitch line to attach the skirt is done along the top edge of the binding to eliminate two lines of stitching in the same place.
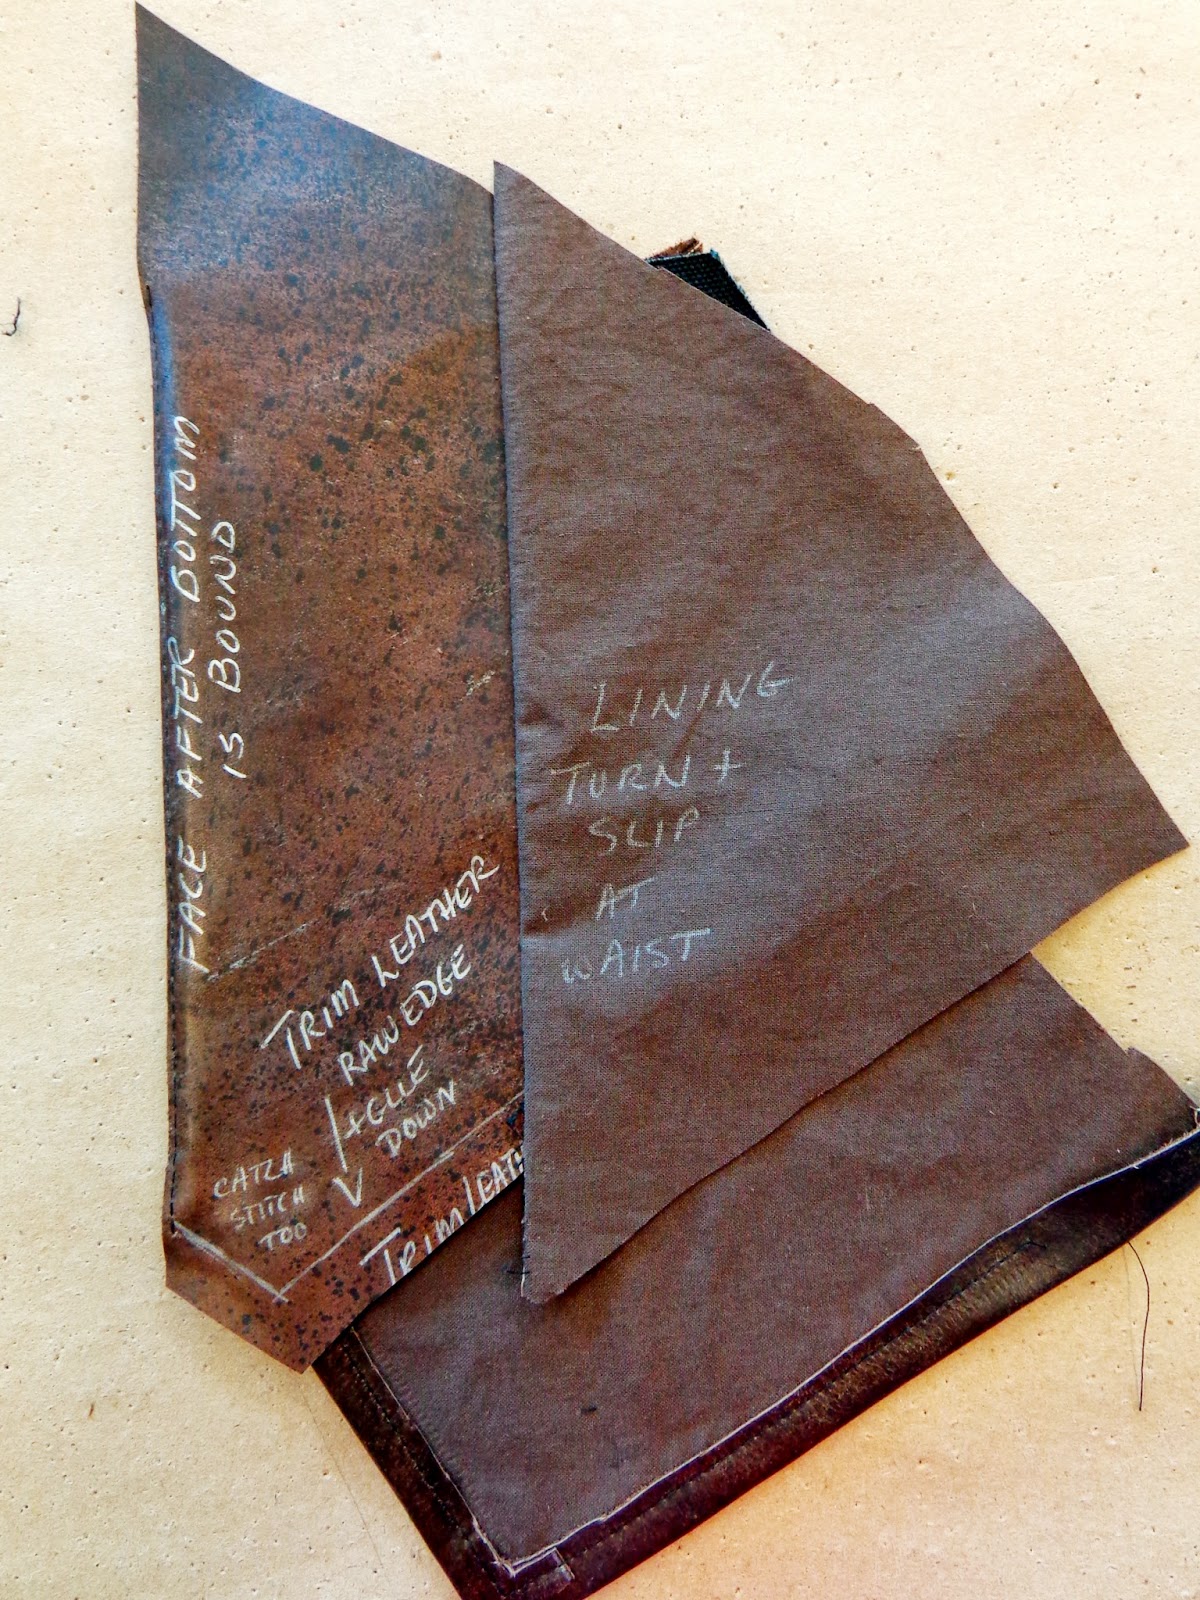
The facing is leather, because we are making simple functional buttonholes, consisting of a stitched rectangle and a cut through the layers of the front. the facing has a raw edge where it is seamed to the front edge- this reduces bulk that a regular seam allowance would create.
We are lining this doublet, because it is worn open. The lining at the waistline will be finished last, by hand.
As you can see I have written all over it for reference, and after the doublet is complete, the sample will reside in our sample box, ready to be examined next time we need it.
Now, onto a mini getaway and then my next project which is a bit tentative. It may be that I have some time to do more thinking and more detailed posting. I will have to wait and see.
This is great!
ReplyDelete