Well, the cape has been finished, and as far as I know, it has successfully stayed on his shoulders without needing any other hidden means of support such as a harness Hurray! Not that he could have a harness, for in the end he must take it off himself onstage so the chain of office has a large hook and bar closure on one side, and he does quite well with getting it unfastened. Whew!
The back has a suede red cross and studding details. I wasn't aware of the cross as part of the design when I first cut this out, and I put a pleat in the back of the cape, but I think we've made the best of it.
The idea of applying trim to velvet is always tricky and tends to involve drawing straws to see who gets to do it as well as some deep breathing exercises. This suede actually wasn't as problematic as we thought it would be. Deep breathing always helps!
The suede cross needed to be hand sewn to the cape. Hand sewing a cut, raw edge of suede needs a bit of preparation.
I wanted to create stitching holes along the edges to make the hand sewing easier, and to reduce any possible distortion of the edge that would occur. I created the holes by stitching the edge with an unthreaded industrial machine with a large needle set at the longest stitch length.
I also found it helpful to mark the cut edge, create the stitching holes, then cut on the line. This allows the suede to feed evenly through the machine and eliminates any rippling that would occur if I had cut first.
The studs went in fairly easily. I just created a circle template of the correct diameter, and divided it up into 18 degree angles (I did mention to my daughter that geometry is used in real life) to mark the placement.
Susy had the idea to put a piece of Styrofoam in between the velvet and the fur, and that allowed the studs to press in through the velvet or suede, into the Styrofoam, and it was a simple thing then, to lift the velvet carefully and press the prongs of the studs back with pliers.
Done.
And so is my season here. Early this year, but I have some work coming up in August so now is the time to relax if I can in the 36 C degree weather we've been experiencing. No air conditioning either.
At least I can wear something lighter than this cape!
Showing posts with label medieval. Show all posts
Saturday, July 7, 2012
Saturday, June 16, 2012
gambesons and gorgets
I think we are finally getting to the finishing stages of our work on this show.
All kinds of decisions have been made such as the decorative trim closures for this black velvet gambeson, and its accompanying suede gorget.
Now we just have to make a strap for the closures to be sewn to, that enables the actor to quickly get in and out of the costume, so that will be a suede strap with snaps. I still have to cut an under placket for it, and get the real belt when the boots and shoes department has it ready.
This gambeson and gorget are also getting closer to completion. The leather thonging still has to be attached, and the straps for it have been prepped but still need to be riveted to the garment, and all those decorations will need to be properly placed, marked , holes punched and then riveted on as well.
We also have to attach the gorget to the gambeson, so it stays in place while being worn.
This gorget is also almost done. This one has the boot liner leather base that is pictured here. The pieces of belting were a bit tricky to position, and we have scored the back of them in order to get them to bend a bit more into the shape we want. Now we need to trim them and attach lacing as well as figure out how to attach it to the tunic that is worn under it.
I fit the velvet cloak on Thursday, so Denise is working away on it. Luckily no changes were necessary and it stayed on his shoulders very well. It still needs a fair amount of work to finish it, the hem alone is about 7.5 m and the hem allowance has to be trimmed down to 2" width, and hand cross stitched. Then there will be the same amount of fur hem to be dealt with, as well as catching the two layers together. Oh, and decoration and closures.....so there is quite a lot to do still.
All kinds of decisions have been made such as the decorative trim closures for this black velvet gambeson, and its accompanying suede gorget.
Now we just have to make a strap for the closures to be sewn to, that enables the actor to quickly get in and out of the costume, so that will be a suede strap with snaps. I still have to cut an under placket for it, and get the real belt when the boots and shoes department has it ready.
This gambeson and gorget are also getting closer to completion. The leather thonging still has to be attached, and the straps for it have been prepped but still need to be riveted to the garment, and all those decorations will need to be properly placed, marked , holes punched and then riveted on as well.
We also have to attach the gorget to the gambeson, so it stays in place while being worn.
This gorget is also almost done. This one has the boot liner leather base that is pictured here. The pieces of belting were a bit tricky to position, and we have scored the back of them in order to get them to bend a bit more into the shape we want. Now we need to trim them and attach lacing as well as figure out how to attach it to the tunic that is worn under it.
I fit the velvet cloak on Thursday, so Denise is working away on it. Luckily no changes were necessary and it stayed on his shoulders very well. It still needs a fair amount of work to finish it, the hem alone is about 7.5 m and the hem allowance has to be trimmed down to 2" width, and hand cross stitched. Then there will be the same amount of fur hem to be dealt with, as well as catching the two layers together. Oh, and decoration and closures.....so there is quite a lot to do still.
Saturday, June 9, 2012
leather gorget part 2
We are further along in the process of making this leather gorget but still not finished.
There are so many decisions to be made and each decision often causes more questions to be asked and processes to be figured out.
In this case, I had started out thinking that we would mount the leather on the felt base. The pattern I made was for the felt and I had to calculate by trial and error how much bigger to make the leather that would cover the felt since the circumference is greater. The pieces were joined edge to edge to reduce bulk and decorative strips of the embossed leather were stitched on top of the seams. The wide strips with the acorn nuts were backed onto boot leather for strength, which made them a certain thickness, so that meant I needed a longer screw to go through the thicker leather and still have enough space left for the leather thonging to go under the acorn nut. I had to order longer brass screws which led to a 10 day wait due to an ordering fiasco of failed faxing, minimum order fulfillment and shipping errors.
By that time, I realized that trying the bind the top edge over the felt was making it all too thick, so I ditched the felt, re cut the inside structure out of boot weight leather, and reconfigured the outer layer of existing work to fit. I also then changed the opening to the centre back since it is now a quick change item and I don't have to worry about how to make the front opening (which is more visible) functional.
We also wanted the decoration strips to not be caught in the binding at the top and bottom, but have the screws go through the strips and the top layer of leather to hold them together, but not through the lining leather.
Arggghh!!
Sometimes it is so frustrating when your finished product is your prototype.
Everything is so plain to see in retrospect, don't you think?
The second and third versions will be much better I'm sure. In fact, I started a gorget for another character using boot liner leather. This I seamed for rigidity, as the leather that is on the outside is a bit softer than it should be. It also has similar decorative strips with acorn nuts but the strips are made of belting leather, which is almost 1/4" thick!! So even if things are the same (gorget) the materials we are given for each specific item change the game in terms of construction methods.
Monday, June 4, 2012
fake fur and chain mail
Well, I managed to get the fake fur cut out by 5 p.m. on Friday.
Susy even found some time to do a couple of stitching samples for me beforehand, just to see how it would behave at the machine.
The best way to seam this fur is to cut it on, or just inside the pattern sewing line and carefully pin then zig the raw edges together. This eliminates bulk at the seams, and is surprisingly strong- we both had a go at trying to pull it apart and couldn't. The zig stitch should actually fall over the raw edge, and if the tension is adjusted properly, you can almost pull the seam flat.
Once the seam is done, you can pull the fur out of the seam as needed with a yarn needle or even a plastic nail brush.
The cloak has bias to bias seaming over the shoulder and a straight to bias seam at the side back. In the velvet, the bias seams went together as cut, but, as you can imagine, the straight to bias had to be hung up to let the bias drop and subsequently the bias side dropped a good inch.
I don't know if a similar thing will happen with the fur, so I guess we will find out tomorrow as it is being put together.
The other thing I have to work out is how to best attach the chain mail sleeves to an under bodice that we made. I think it will entail a fabric strip with metal eyelets that is then sewn onto the bodice so the chain mail can be linked into the eyelets. Then we deal with what happens at the wrist and whether to link the chain mail to a cuff or a drawstring, because there is an armoured gauntlet glove to be worn but possibly taken off onstage.
Wednesday, April 6, 2011
update
As I mentioned earlier, we've been really busy and just in case you were wondering, we have finished some things! Yeah!
Not only finished them but made adjustments so the actor could make a 46 second quick change into this costume. Oh there's a cape too, but I forgot to get it on the stand for a photo. So this one at least is ready for Friday.

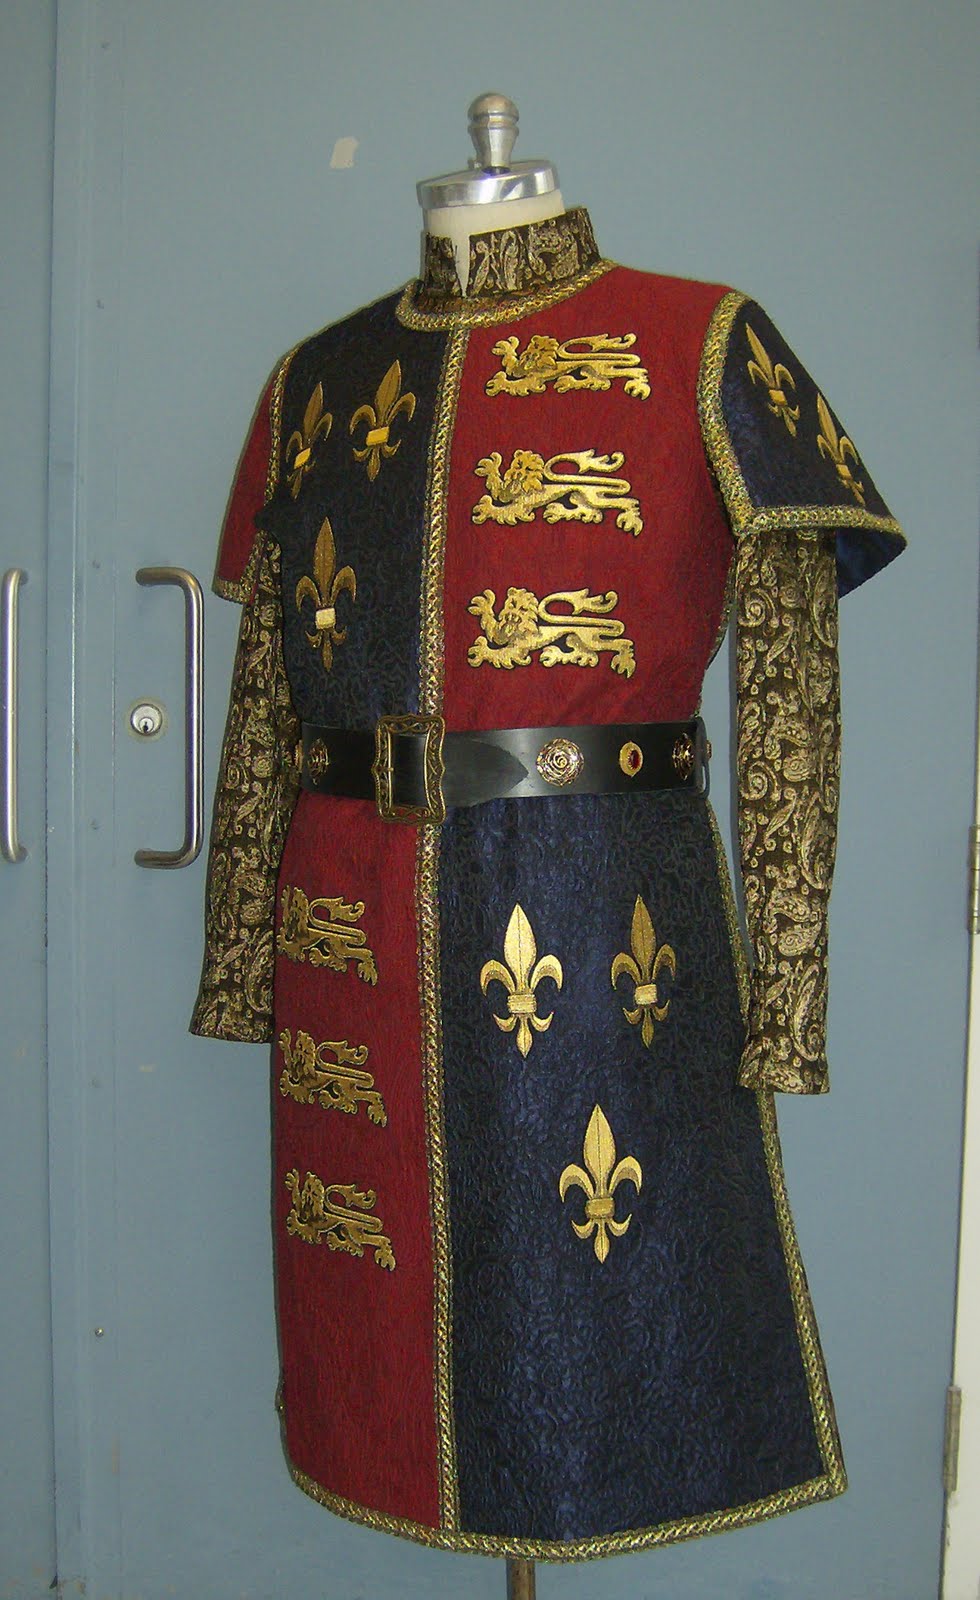
How does it open? The right shoulder, the right back sleeve, and the side seam zips from waist to underarm. We had snaps on the sleeve but had to change it to velcro, because there was no time. The actor comes offstage, takes off the previous costume, then he steps into the undergown, which is set in place on the floor, lifts the garment and zips up the front. The surcoat is placed on him, snapped in place, the belt is done up and the cape is placed on him, done up at the front chest and then he's walking out on stage. It really is amazing to see it happen backstage- they are pros at it.
This overcoat, on the other hand, I was cutting out today, and I had delusions that we would be able to get it together and ready for a fitting on this coming Monday or Tuesday, but it isn't looking promising.
The coat it is worn over is in process, and the waistcoat needs alterations and finishing and the trousers need an hour or two of work, so I was really delusional.
There are only six pairs of hands and we still need to get another tailcoat and trousers ready, and those hands are just finishing tying up the loose ends for Friday, and tomorrow is Thursday after all.
It is still snowing.
Tuesday, March 1, 2011
leather doublet pattern
The doublet needed to have a soft rather than structured feel to it and it will be worn belted, but the designer didn't want a lot of excess material bunching up at the waist when the belt was tightened.
That meant that I needed to suppress the waist and I think that in leather, seams are so much better than darts. The seaming choice that I avoided because I really dislike it, is the men's version of a "princess" line, and I suggested to the designer that I could angle the seams off into the armhole, which is a bit more, well, angular and manly, if a seam can be manly.
The leather we are using is a good weight of sheepskin, sturdy enough to not require an interior structure to hold its shape, but soft enough that it doesn't look too rigid when belted.
People often think that leather is difficult to work with but I find it easier in some respects.
You do have to assess what the assets and pitfalls of the leather you are working with may be, does it stretch easily (control the seam before stitching) will you need a walking foot or teflon foot to sew it? (you don't want a line of stitching to perforate the leather) Can you take advantage of its non fraying quality and figure out ways of incorporating the raw edge (use a strip to bind an edge) instead of conventional binding or seaming? The possibilites are endless.
The hem will be "dagged" which again can be one of those design elements that are easy to get wrong. We need manly dags, not scallops like a 1940's window valance, something angular perhaps, so we will need to make up a few samples to see what works. The great thing about leather is that you can make use of its inherent qualities to assist in the construction, so in the case of the dagged hem, we will likely lay in a facing of interfaced leather behind, and then stitch the dag shapes through both layers and cut next to the stitch lines, leaving the cut edge as the finished edge.
Yes, you can interface leather and in some instances you just have to. This one will need a little help to stabilize it while stitching the dags. Another option is to glue the facing in place for stability and we will do a sample of that too, but we don't want a soft doublet with a rigid hemline, but we certainly will glue back our seam allowances and gently hammer them flat. we sometimes use barge but also use double sided rubber cement tape in some circumstances- just depends on what we need and whether the gluing needs to be more or less permanent over a period of time.
I barely got out of the fitting room before Karen had it back on her table for a minor alteration and to begin the process of finishing it. The whole team is in now and the work flow still hasn't stabilized from frantic to smooth, so I am barely keeping ahead of them.
Photos to come.
Subscribe to:
Posts (Atom)