Monday, March 3, 2014

Ruff details

Just a few more thoughts and pictures of a couple of ruffs we are working on.
As I mentioned, these ruffs are simpler than the circular kind, but there are a few things we think makes a difference in the finished item.


The edge! It help to have an extra bit of something on the outside edge. The ruff starts as a layer of fabric with a layer of marquisette laid on top and stitched down the centre.  Karen then inserted a heavy fishing line in the folded edge of the fabric. Once this step is complete, the inner edge needs to be stitched
together. Both of these ruffs were stitched once with a straight stitch to hold the layers then zigged closely and trimmed.


Silvia's ruff has an edge finished with a close serge in black using woolly nylon thread. As well, we finally found a use for those decorative stitches that seem to be included on many domestic sewing machines! A nice floral stitch pattern added along the edge of the fabric gives the impression of the ever popular blackwork look.
You can see the ruff being gathered up here, mark the spacing you want, then stitch by hand through the dots and gather up the resulting pleats. You need to allow for the turn of cloth when calculating the spacing. For instance, these are pleated up at 1 1/2 inches to be stitched to a 1 1/4 inch band.

Both top and bottom of the pleats are stitched to the band. The outside edge of the ruff also needs to be stitched together by hand. These are stitched about 1/4 of the way up from the folded edge to hold the figure eight shape.


The last picture is the ruff almost complete. We are not sure of the exact size required yet, as it will be attached to a doublet collar, which is still under construction. We have allowed some extra fabric to pleat and extra neck band length, so it can be adjusted to fit, then finished.

Sunday, February 23, 2014

more ruffs!

Was it only just last year that we made some big circular figure eight ruffs?
Well, this year I think we will make more and just to keep things interesting, we are also making some straight grained ruffs.
Now, figuring these out is a lot easier as they are literally straight grain lengths of fabric, drawn up and sewn to a neck band.
One thing we did differently this year was the neckband. The change to our approach came out of not being able to find the right width of grosgrain! We wanted 1 1/4 inch wide but couldn't find any at the time, so what we did was zig together two 5/8 inch pieces, and mount them onto a 1 1/2 inch band. That meant there was a 1/4 inch left that we stitched another piece of grosgrain to, forming a flange that would tuck down inside the collar of the doublet.
Now we can attach the snaps to the flange piece...duh! why didn't we think of doing this last year? Oh well, live and learn! I love it when this kind of thing happens.


Here you can see the clever flange/band technique!


More descriptions and details to come........

Sunday, February 16, 2014

Dart manipulation and doublets

 I am making a few doublets this year and this one  happens to have horizontal lines of trim which means I will want to move my dart shaping to accommodate the design.


I started with an understructure that is seamed vertically and you can see the shaping that is built into it.
These doublets fit the body quite closely and I often opt for a more modern approach in the understructure, accommodating the body with darts or seaming. It is easier to fit this way and allows us to manipulate the outer fabric over the shape more akin to the period.

Once I have fit the understructure, I correct the pattern and in this case, manipulate the darts into horizontal lines which is where the trim will be featured. You can see that the front dart turns into very minimal darts into the side seam, and this will be easy to ease in. The back shoulder dart and the blade dart/seam reveal the greater amount of shaping required to fit the back of the body. This results in two seams horizontally in the upper back area as they are too large to ease in nicely. The centre back here is on the fold which is how the over layer will also be cut.
After I drew in my lines and double checked that I liked the placement, I then had to mark in the positions of the slashing, and get some samples of the slashing made to see whether the  slashes could just be straight cuts, or should be shaped cuts allowing more of the under colour to show through. The original concept had a flat red silk under the slashes, but it looked a little uninspired, so the designer asked for something with a bit more oomph, so we are experimenting with it here.


As I was getting this prepared for waiting hands, I was reminded about how much time it takes to prepare all the elements of the patterning as well as decoration and to cut all the pieces out. The sleeves also have this treatment of lines of trim with slashing in between and the silk underneath!  
Luckily I have very experienced team members who love the challenge of sampling and trying out ways to get the result we are after and it lets me focus on drawing out all the details.
Maybe a bit too much of the under silk here but it is headed in the right direction.

Monday, February 3, 2014

vintage shirt donation

I was walking by the office the other day and noticed a number of shirts, freshly laundered and just hanging on the back of the door.
It turns out that they were a donation.
These are old shirts.
I don't want to quite hazard a guess, without doing a bit of research, but I took some photos to show you. I want to say WWI era to 1920's but I am leaning towards earlier.
They are in very good to fair condition, the fabrics are still bright and crisp, and have been well taken care of.
They are French, as in from Paris, not Quebec.
The labels read David, 32 Ave de l'OPera, Paris. Each shirt has some kind of number hand embroidered in the side seam gusset, which I assume is for laundry services.
They are made with a combination of hand and machine stitching. The buttonholes are all hand made, the machine stitching is tiny tiny tiny- I bet more than 24 stitches per inch. I will have to get closer and count.
A variety of details:
Some of the shirts, such as this one, pull on over the head, some button up the front. One has a contrast bib front in a striped fabric. All have the small band collar made for wearing a detachable collar. This one has fullness gathered into the back yoke, and a small pieced section on the back of the sleeves. The cuffs are interfaced with something very stiff, I had to wet it and press with a hot iron to uncrumple them. I haven't taken any measurements but they are ample in the body, longer in the back and have small hand inserted gussets in the side seams. The seams in general are about .5mm wide, as is the hem.
The armholes are felled with quite a wide finish- 1.5cm or so by guessing.


Maybe someone out there has better sleuthing skills or more time to spend looking for information. I wonder when this business was  operating in this location?

More to come as I have them pressed up and measured.

Thursday, January 30, 2014

Last minute costuming

I am tired.
Exhausted actually, but I finished a very last minute project tonight after "work". A pair of jeans, a shirt and modifications for a bought shirt to do in a week cause Andrew and Kaitlyn are off to Sochi.


Strangely enough, I have been working on jeans at "work" and this project happened to include a pair of jeans. Very serendipitous
It was very nice fabric to work with as far as velvet goes, and is a deep rich black that gets washed out in hasty photo sessions.

Stretch black velvet jeans. With red top stitching. A happy combination!

I got the fabric Friday morning, took the afternoon off my regular job, washed and dried and pressed the fabrics, made a shirt pattern and had the shirt cut out, with instructions for making to be handed off to Silvia by 5pm, jeans patterned and cut out by 9:30 pm. Made them up to the waistband point on Sunday afternoon, and managed to get the last bits done tonight.
You don't have to be crazy to be in this business but it helps!

 Faked front pockets.
 Inserting the zip and edge stitching the fly.
There is a nice trick to doing this that I discovered while figuring out the jeans for work. I will follow up with it later, I promise!
Fly done and top stitched.

I stopped taking pictures after this because I just lost documentation motivation!

Sorry for the sideways view.


I think they turned out quite well, I just hope they fit perfectly, because there isn't time for a fitting which is really nerve wracking because even though I have my patterns for the last few things I made for reference, it is a style change- lower waist, closer fit through the legs and a stretch fabric- and I prefer to fit and know for sure than hope for the best, but at this late date hoping for the best is all I can do.


Saturday, January 25, 2014

Upcoming work, drafting jeans and the weather

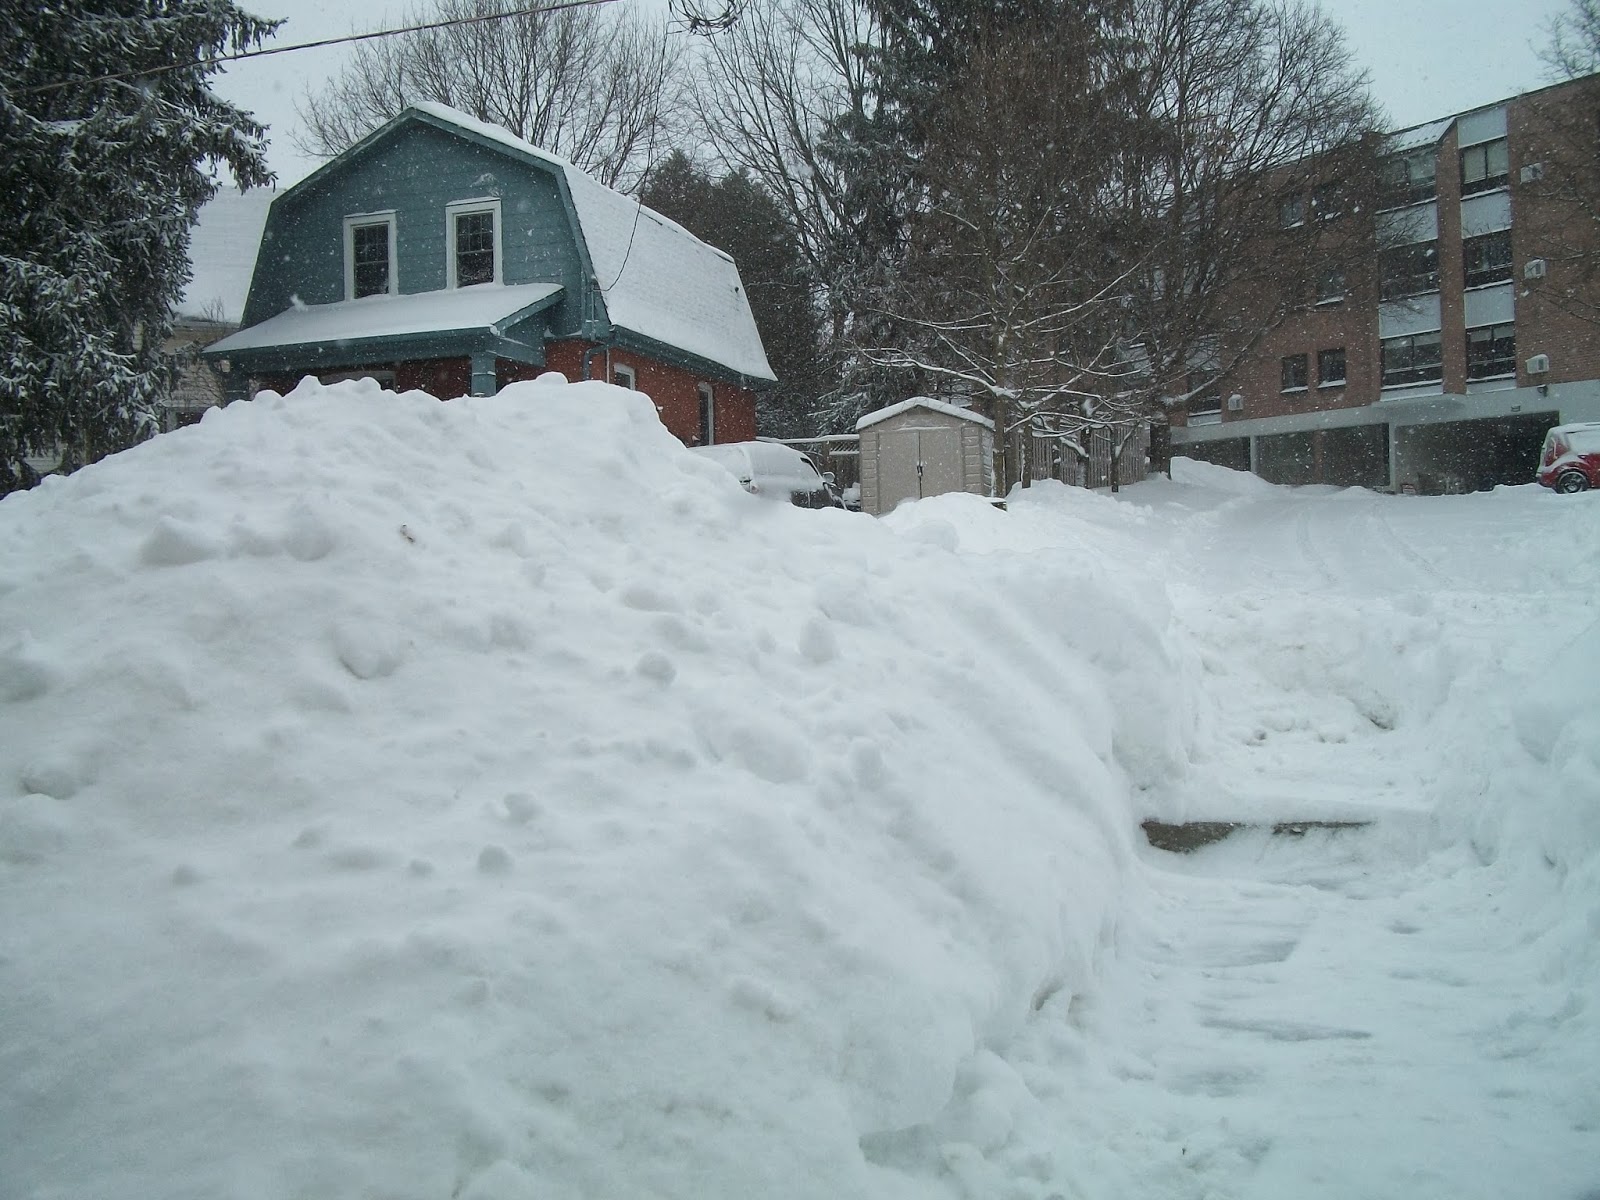
So this is what has thwarted my plans today.
I was at the train station bright and early and waited for two hours, and then decided by the time the train came in another two hours, it would be time to turn around and come home.
So I shovelled instead. Nevermind.


On the work front, I have some interesting projects both modern 1930's, (one of my favourites) and some Elizabethan costuming in the next few months.

One of the shows requires me to make jeans! How much fun is that? We are going to reproduce a vintage style of jeans, higher waisted, in non-stretch 10 or 12 oz denim, that can be danced in.

I spent part of last week making up a draft for them. Now I don't know if you have ever reverse engineered something but it is an interesting process. I mean I know what a typical jean pattern of this style should look like, but when I went a searching through my books, I couldn't find one that really fit the bill. I wondered if those drafts are so extremely proprietary that nothing similar is in a book....hmmm. I didn't have a pair of vintage jeans to take apart and examine, so I just have to work with the information I have.

What are the requirements of these jeans? They need to sit just below the natural waist- not on the hip, not hanging off the butt with the pockets at the back of the thigh with only magic holding them up.

      I have seen guys wearing jeans so low that I am tempted to follow them around the grocery store so I can see the inevitable wardrobe malfunction, but so far I have refrained. I wonder if future costumers will puzzle over how to get those jeans they wore in 2010 to look like that?

The jeans need to sit high into the crotch, let a dancer do the splits, squat, or kick his leg up above his head without splitting or limiting motion. They need to be slim in the thigh, but not tight. Many dancers have a 7 to 9 inch difference between their waist and hip measurements which isn't typical of the average person or the jeans they wear.

So the process starts with identifying how the jean fit is different from a regular trouser, and modifying the draft that I normally use. Slimmer in the thigh and leg, shorter rise, and most importantly a modified crotch curve. The first fit sample I made was ok, but I made the thighs a bit too snug and didn't get enough fabric over the cheeks so the CB seam had tension on it in the wrong area.
So a bit of analysis is in order, and this is the interesting part of the job- mulling things over.

 When you squat down in tight jeans, the expansion of the seat muscles require extra fabric length and width. If the thighs are not tight, it allows the body to move within the cloth. If the thighs are tight, it restricts that movement of fabric, and has to be compensated somehow.
The shape of the back fork and centre back seam run/angle are important aspects in allowing this movement.

So I will try my modified pattern out on a dancer next week, see if the modifications I have made work,  and then try to quantify those modifications, creating my own "jeans" draft, that I can reproduce in a variety of sizes.
When I get back to work next week I will try to remember to photograph my pattern for you to see.

In the meantime, stay warm!


Wednesday, January 1, 2014

Year end reflections and new beginnings.

Well, a new year has begun!
It came in quietly at our house, due to a terrible headcold that I probably picked up from visiting relatives at Christmas. Not naming any names, Kelly, Sheldon, Lily!

I haven't spent as much time blogging recently, as you can tell, and I did wonder if I really had much more to say, but I think the lack of blogging has to do more with the feast or famine nature of the business. If there is a lot going on, I have a lot to talk about, If not, I don't.

I worked almost 12 months continuously over 2011-12 which is unusual in my business. Don't get me wrong, I was very pleased, but almost too busy. The work itself is more often than not an adrenaline rush of accepting contracts and then getting the projects done in record time because of delays caused further upstream in the process. It seems to be the nature of the business, but can be very wearing after 25+ years of it.
This year seemed to have more in common with the famine nature of the business, which isn't good for the pocketbook, but has been productive in terms of reflection on going forward through what I think are the next stages of my career. Looking towards figuring out how to use my skills towards something that is less wearing in the frantic department if you know what I mean.

It's funny to try to assess yourself and your skills and where you want to go in the near future; maybe some of you do it on a regular basis- making 5 year plans and such, but that hasn't been something I am used to doing. It is time though, to make some changes, and to figure out what they are.
So....
In between the few jobs I have done this fall, I have been busy getting my book project together. I am so close to finishing the main photography and moving on to the next stage, I can almost taste it. It has been an enjoyable if sometimes frustrating process and a steep learning curve, but I hope to be able to offer it up before year's end. When that happens, this blog will likely be moved to its own dedicated site where I can amalgamate all these things I am planning.

The other project that I have in the queue for consideration is a pattern making service. At first, I was thinking that it would be useful for the theatrical community exclusively, but I have had a few nudges towards offering either standard size men's patterns of period or modern design, or a custom pattern service for individuals of non-standard proportions. These ideas would take some time to develop fully and I am not sure of the marketability of them or where exactly to aim my focus, so that is why they are still in the queue of consideration.

But today is not for consideration of these things.
Today is for a toast to the New Year, a day to get out for a ski or a skate, to begin as I mean to carry on and ignore the cold- both the one in my head and the rather chilly temperatures today.

I wish you and yours a very Happy 2014!